If you struggle to hit depth in your squats, feel an uncomfortable pinch in the front of your hips at the bottom of a lift, or wake up with a stiff, achy lower back after long hours of sitting, your hip mobility is the underlying culprit. The hip joint is the architectural powerhouse of the human body, serving as the central junction where force transmits between your lower limbs and your torso. When this multi-axial joint loses its ability to freely rotate, flex, and extend through its anatomical range of motion, your kinetic chain breaks down. Your body immediately seeks movement elsewhere, forcing your lumbar spine and knees to sacrifice stability to compensate for missing hip motion.
Improving hip mobility requires far more than passively hanging out in a stretch while scrolling on your phone. True functional mobility is the active neuromuscular control of your joint through its entire available anatomical range. By combining targeted soft tissue preparation, end-range joint capsule mobilization, and active motor control integration, you can permanently eliminate hip restrictions, bulletproof your lower back, and unlock powerful athletic performance.
The Anatomy and Biomechanics of the Hip Joint
To understand how to improve hip mobility, you must first appreciate the joint's intricate architecture. The hip is a classic diarthrodial ball-and-socket (spheroidal) joint formed by the articulation between the rounded head of the femur and the cup-shaped acetabulum of the pelvis. Unlike the shoulder joint—which prioritizes extreme mobility at the expense of inherent skeletal stability—the hip is deeply seated, encircled by a thick fibrocartilaginous rim called the acetabular labrum.
This joint is enveloped by one of the strongest ligamentous capsules in the human body, comprised of three primary structures:
- The Iliofemoral Ligament (Y-ligament of Bigelow): The strongest ligament in the human body, situated anteriorly to prevent excessive hip hyperextension.
- The Pubofemoral Ligament: Located anteroinferiorly, restraining excessive abduction and extension.
- The Ischiofemoral Ligament: Situated posteriorly, spiraling across the joint to limit internal rotation and adduction when the hip is extended.
Because the hip moves in all three anatomical planes—sagittal (flexion and extension), frontal (abduction and adduction), and transverse (internal and external rotation)—restrictions rarely occur in isolation. When the posterior capsule tightens or the anterior hip flexors become stiff and short, the femoral head fails to glide smoothly within the acetabulum during movement. Instead of gliding backward during deep flexion, the femur migrates forward and upward, creating mechanical impingement against the anterior labrum.
Flexibility vs. Mobility: The Neuromuscular Distinction
Many athletes spend months performing passive static stretches without seeing any tangible change in their squat depth or movement quality. This stagnation occurs because they confuse passive flexibility with active functional mobility.
Passive flexibility is the ability of a muscle or connective tissue to lengthen passively when an external force (such as gravity, a partner, or a band) moves the limb. You may have the passive flexibility to pull your knee to your chest while lying on your back. However, if you cannot actively pull and hold that knee in the same position using your hip flexors and core strength alone, you lack active mobility.
The central nervous system maintains an active protective threshold over your joints. If your brain senses that you do not possess muscular strength or motor control at an extreme joint angle, it deliberately restricts your range of motion by increasing resting muscle tone. It perceives end ranges as unstable zones of vulnerability. To create permanent mobility gains, you must demonstrate strength, stability, and control in those newly acquired ranges.
In a landmark biomechanical study evaluating movement transfer, researchers discovered that passive increases in hip flexibility do not automatically transfer into functional movement patterns unless motor control and active stability are specifically trained in tandem.[1] Simply lengthening the surrounding tissues does not alter how the nervous system coordinates athletic tasks like squatting or hinging; you must teach the brain how to access and stabilize those positions under active tension.[1]
The Three Most Common Mobility Bottlenecks
Athletic hip restrictions typically stem from three specific anatomical bottlenecks. Addressing these targeted zones will provide the fastest return on your mobility investment.
1. Anterior Hip Flexor Tightness
The primary hip flexors—the psoas major, iliacus, and rectus femoris—spend hours each day held in a contracted, shortened state while you sit at a desk or in a vehicle. Over time, adaptive shortening occurs: sarcomeres in series are lost, and collagen cross-linking stiffens the connective tissue sheath. When you stand up to train, these tight tissues pull your pelvis into an anterior pelvic tilt, hyperextending your lumbar spine and locking the femoral head in an unfavorable position for deep squatting.
2. Deficits in Hip Internal Rotation
Hip internal rotation (HIR) is the hidden key to lower body athletic movement. To descend below parallel in a barbell back squat, your femurs must be able to internally rotate roughly thirty to forty degrees as your hips hinge backward. If your deep external rotators (such as the piriformis, obturators, and gemelli) are chronically rigid, your femur runs out of clearance. The pelvis is forced into premature posterior rotation—the dreaded "butt wink"—rounding your lower back under heavy spinal loading.
3. Adductor and Groin Restrictions
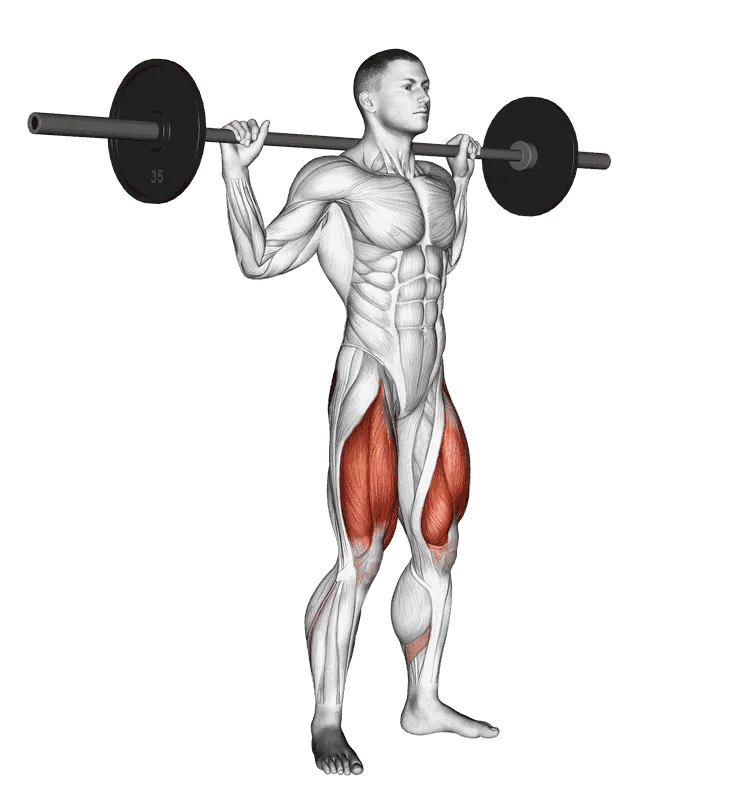
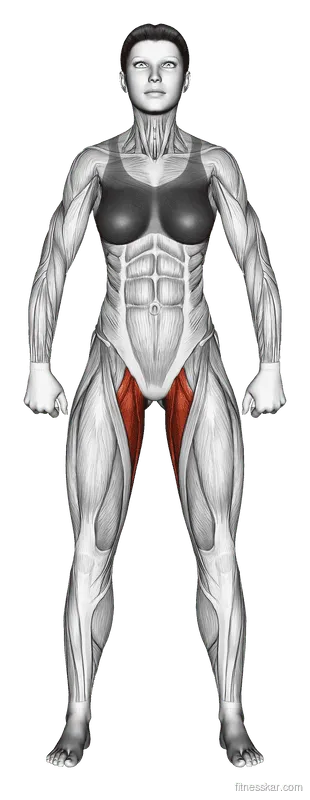
The adductor complex (magnus, longus, brevis, and gracilis) lines the inner thigh and serves as a powerful secondary hip extensor in deep flexion. When the adductor magnus is excessively tight, it tethers the femur and resists lateral spread (abduction) and external rotation during the squat descent. Releasing and lengthening the adductor group allows the knees to track naturally over the toes without collapsing inward into dynamic valgus.
Self-Assessment: Pinpointing Your Hip Restrictions
Before randomly performing mobility drills, use these three diagnostic tests to identify where your hips are restricted.
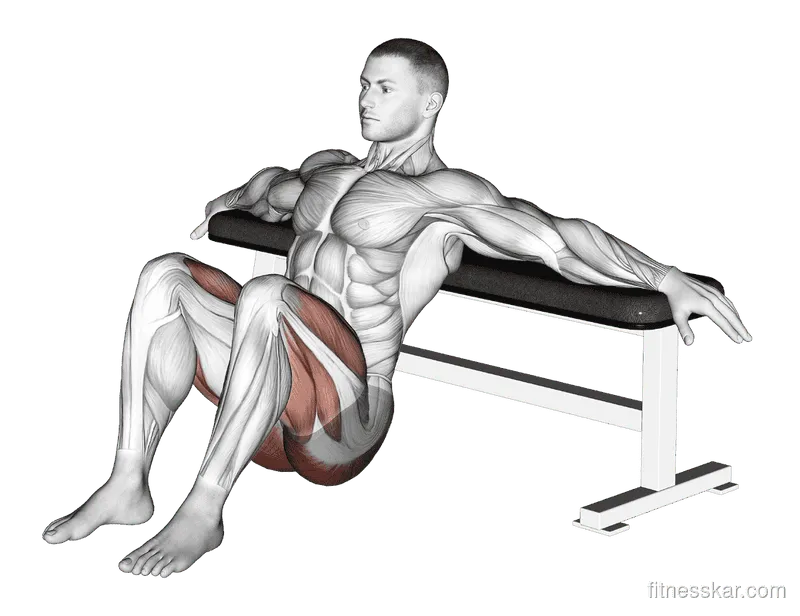
The Modified Thomas Test (Hip Flexor & Quad Extensibility)
- Sit on the very edge of a sturdy workout bench or plyo box.
- Lie flat on your back while pulling both knees firmly toward your chest to flatten your lumbar spine against the bench.
- Keep one knee hugged tight against your chest and slowly lower the test leg down toward the floor, letting it hang naturally.
Evaluate your hanging leg:
- If the back of your hanging thigh does not lie completely flat on the bench, your deep hip flexors (psoas and iliacus) are restricted.
- If your hanging knee cannot bend past ninety degrees of flexion, your rectus femoris (quadriceps) is tight.
- If your thigh angles outward away from your torso, your tensor fasciae latae (TFL) or IT band complex is shortened.
Seated Hip Rotation Screen (Internal vs. External Rotation)
- Sit tall on a box or bench with your knees bent to ninety degrees and your feet hanging freely without touching the floor.
- Keep your pelvis neutral and hands braced on the bench to prevent leaning.
- Rotate your right shin outward away from your midline while keeping your knee stationary. This measures internal rotation. Normal active range is thirty to forty degrees.
- Rotate your right shin inward across your body toward your midline. This measures external rotation. Normal active range is forty to forty-five degrees.
- If internal rotation is under thirty degrees, prioritize capsular mobilization and rotational drills.
Deep Squat Wall Test (Functional Squat Mobility)
- Stand facing a bare wall with your toes approximately ten centimeters (four inches) away.
- Assume your standard squat stance with your feet shoulder-width apart and toes slightly flared.
- Extend your arms overhead or keep hands at your chest, and descend into a full squat without letting your knees or face touch the wall.
- If you fall backward or cannot hit depth without touching the wall, you are battling a combination of restricted hip flexion, adductor tightness, and ankle dorsiflexion limits.
The 4-Pillar Mobility Framework
Random stretching yields temporary results. To forge lasting, structural change in joint mobility, follow this 4-pillar system:
Pillar 1: Neuromuscular Desensitization (Soft Tissue Prep)
Begin by applying self-myofascial release (SMR) with a foam roller or dense massage ball for sixty to ninety seconds per muscle group. Target the gluteal complex, piriformis, TFL, and adductors. Foam rolling does not physically break up scar tissue or lengthen muscle fibers; rather, it stimulates mechanoreceptors (Ruffini endings and Pacinian corpuscles) that signal the central nervous system to reduce resting muscle tone and downregulate pain sensitivity.
Pillar 2: Joint Capsule Mobilization (Band-Assisted Glides)
Because connective tissue restrictions often live in the thick joint capsule itself, band distraction is invaluable. By looping a heavy resistance band high into your hip crease and moving into a lunge or quadruped rock, the lateral or posterior pull creates space within the joint capsule. This restores normal arthrokinematic glide of the femoral head and alleviates anterior impingement.
Pillar 3: End-Range Isometric Loading (PAILs/RAILs)
Developed within Functional Range Conditioning (FRC), Progressive and Regressive Angular Isometric Loading (PAILs/RAILs) expands usable range by pairing a deep passive stretch with high-effort isometric contractions:
- PAILs: You contract the stretched tissues against resistance, teaching your nervous system to produce force from an elongated position.
- RAILs: You contract the opposing tissues (shortened side), actively pulling yourself deeper into the newly unlocked range. This process strengthens the safe operating envelope of the joint, preventing reflexive guarding.
Pillar 4: Dynamic Integration into Movement
Never finish a mobility session without integrating your new range into functional motor patterns. Performing loaded barbell squats, deep bodyweight lunges, or controlled hip thrusts cements the neurological pathways, proving to your brain that the newly gained range of motion is stable, safe, and usable under load.
- Sets
- 3–4
- Reps
- 30–45 s
- Rest
- 60 s
- Tempo
- 2–3–2

- Sets
- 3
- Reps
- 60 s per side
- Rest
- 45 s
- Tempo
- 3–1–3
The 15-Minute Daily Hip Mobility Protocol
Perform this structured routine daily upon waking or twenty minutes prior to lower-body lifting sessions. Move smoothly, breathe deeply into your abdomen, and never force a painful joint pinch.
| Order | Exercise | Key Focus Area | Prescription | Tempo / Hold |
|---|---|---|---|---|
| 1 | Quadruped Hip CARs | Full 360° Joint Capsule Health | 2 sets × 5 reps per side | Slow and deliberate |
| 2 | 90/90 Hip Rotational Flow | Internal & External Rotation | 3 sets × 6 transitions | 5-second hold at end range |
| 3 | Half-Kneeling Hip Flexor Stretch | Iliopsoas & Rectus Femoris | 3 sets × 45 seconds per side | Posterior pelvic tilt |
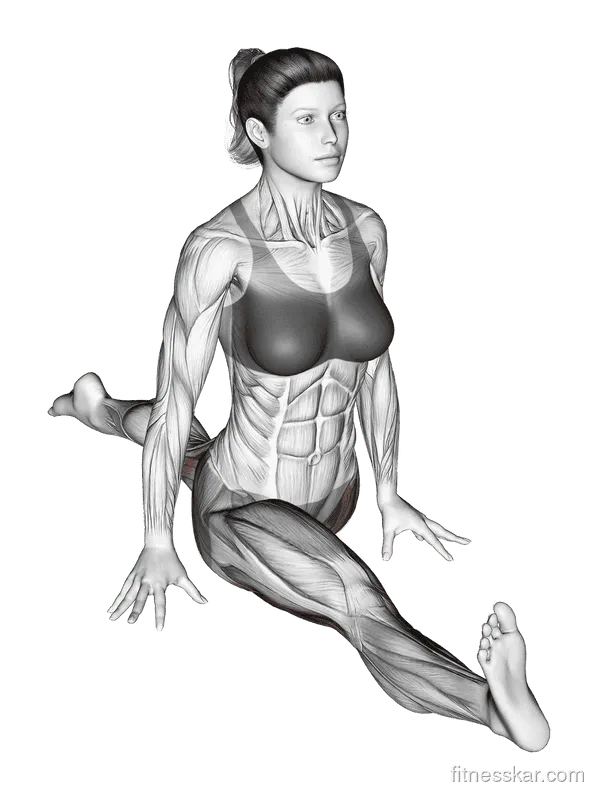
| 4 | Frog Adductor Stretch | Adductor Complex & Groin | 3 sets × 45 seconds | Rhythmic rocking |
| 5 | Prying Deep Squat Hold | Multi-Planar Squat Integration | 3 sets × 30–45 seconds | Active knee prying |
Detailed Execution Guidelines
1. Quadruped Hip Controlled Articular Rotations (CARs)
Set up on all fours on a padded mat with your hands beneath your shoulders and knees under your hips. Brace your core tightly so your lower back does not arch or twist. Lift one knee, bring it toward your chest (hip flexion), open it wide to the side like a dog at a fire hydrant (abduction), rotate your heel upward toward the ceiling (internal rotation into extension), and bring the knee back down. Reverse the circle. Make each repetition as large and controlled as possible without letting your spine move. This lubricates the articular cartilage via synovial fluid circulation.
2. The 90/90 Rotational Switch
Sit on the floor with your front leg bent at ninety degrees in front of you and your rear leg bent at ninety degrees to your side. Both knees and ankles should form right angles. Sit tall with a long, neutral spine. Hinge forward over your front shin to stretch the lead hip's external rotators. Return to upright, then rotate both knees across to the opposite side without using your hands for support if possible. This actively toggles your hips between maximum external and internal rotation.
3. Half-Kneeling Hip Flexor Stretch with Posterior Pelvic Tilt
Kneel on your right knee with your left foot flat in front of you in a ninety-ninety lunge stance. Before lunging forward, actively squeeze your right glute and tuck your tailbone under (posterior pelvic tilt). You should immediately feel a deep, intense stretch in the front of your right hip and quad. Maintain that glute squeeze as you glide forward two to three inches. Hold for forty-five seconds while taking deep diaphragmatic breaths.
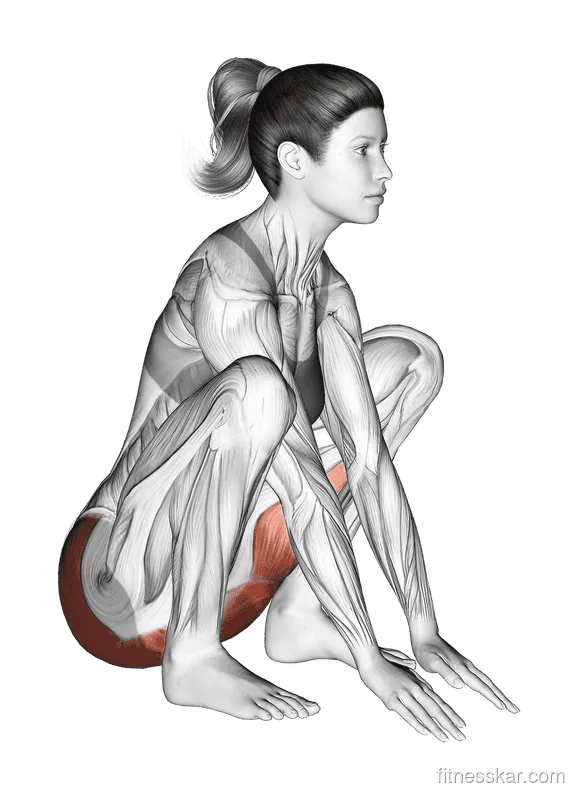
4. The Frog Adductor Stretch
Kneel on a soft mat and spread your knees as wide apart as comfortably possible while keeping your inner ankles and feet flat on the floor behind you. Drop down onto your forearms. Keep your spine completely flat. Slowly rock your hips backward toward your heels until you feel a firm stretch across the adductor muscles of your inner thighs. Hold for five seconds, rock forward two inches, and repeat.
5. Prying Goblet or Bodyweight Squat
Descend into the deepest squat you can achieve while keeping your heels securely anchored to the floor. Place your palms together in front of your chest and use your elbows to press outward against your inner knees. Gently shift your weight from left to right, opening up the ankles and hips while driving your chest up toward the ceiling. Pair this with our comprehensive guide to joint durability to reinforce connective tissue longevity.
Integrating Hip Mobility into Heavy Lifting Days
To ensure your newfound mobility protects your joints under heavy barbells, bridge the gap between warm-up drills and compound lifts.
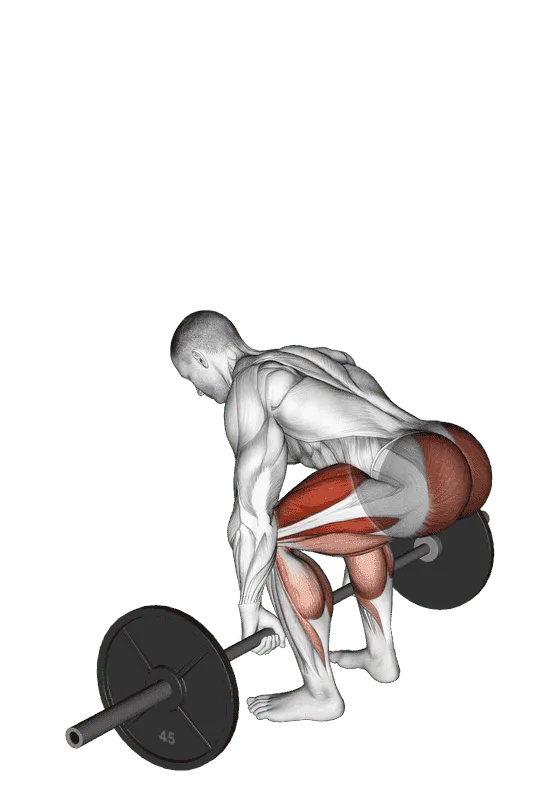
Before loading a barbell for barbell squats or deadlifts, execute a specific activation primer:
- Complete two sets of the 90/90 rotational flow to open the capsules.
- Perform two sets of fifteen bodyweight glute bridges or hip thrusts to reverse reciprocal inhibition and wake up the gluteus maximus.
- Perform two sets of five goblet squats with a five-second isometric pause at the bottom, using the weight of a light dumbbell to pry the hips open.
After your workout, reinforce spinal stability with structured core training like our 6-Week Core Strength Builder to ensure your pelvis remains locked in a stable neutral position during everyday tasks. If you need a comprehensive, progressive program that integrates mobility work seamlessly with hypertrophy, explore our 8-Week Full Body Fitness Builder.
Frequently Asked Questions
Frequently asked questions
How long does it take to see permanent improvements in hip mobility?
You will experience immediate acute improvements in range of motion following a single mobility session, but permanent structural and neuromuscular changes typically require four to eight weeks of consistent daily practice (ten to fifteen minutes per day).
Why do my hips feel stiff again just a few hours after stretching?
Passive stretching only provides temporary relief because it does not alter the underlying motor control or address lifestyle habits. If you return to sitting at a desk immediately after stretching, your nervous system resets to its baseline protective tension. You must pair stretching with active strengthening drills.
Should I do hip mobility exercises before or after my workout?
Dynamic mobility drills, CARs, and active end-range exercises are best performed before workouts as part of a dynamic warm-up to prepare the joints for load. Long-duration passive stretches (holding for over sixty seconds) are better suited for post-workout cool-downs or dedicated recovery days.
Can tight hips cause lower back pain?
Yes. The body follows the joint-by-joint concept: the hips are designed for multi-planar mobility, while the lumbar spine is built for stability. When the hips lose range of motion, the lower back is forced to bend, rotate, and absorb excessive shearing forces during daily movements and lifting.
Sources
- Moreside JM, McGill SM. Improvements in hip flexibility do not transfer to mobility in functional movement; training can change the transfer. Physical Therapy in Sport. 2013. doi.org/10.1016/j.ptsp.2012.04.001 ↩