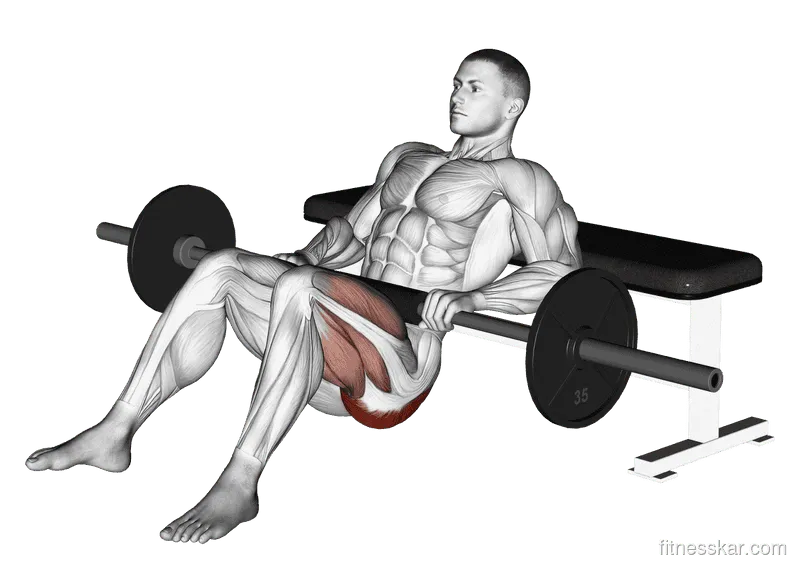
The barbell hip thrust is the undisputed king of horizontal hip extension. While deep squats and hinges build lower-body power by loading the gluteus maximus in its lengthened, stretched position, the hip thrust does what no standing compound lift can: it delivers peak mechanical tension precisely when the glute fibers reach full contraction and complete shortening. When executed with clinical precision, it triggers unmatched metabolic stress and mechanical tension across both the upper and lower divisions of the gluteal complex.
Yet, despite its widespread popularity across commercial gyms and strength facilities, the hip thrust is also one of the most frequently botched movements in resistance training. Lifters routinely crank their lumbar spines into hyperextension, place their feet too far forward or too close to their hips, bounce heavy bumper plates violently off the floor, or allow their pelvis to tilt anteriorly at lockout. These technical breakdowns do not merely rob your glutes of hypertrophic stimulus—they shift massive shear stress directly onto the lumbar vertebrae and sacroiliac joints. Mastering the mechanics of this movement turns it into a potent tool for building rounder, stronger glutes and boosting athletic sprint power.
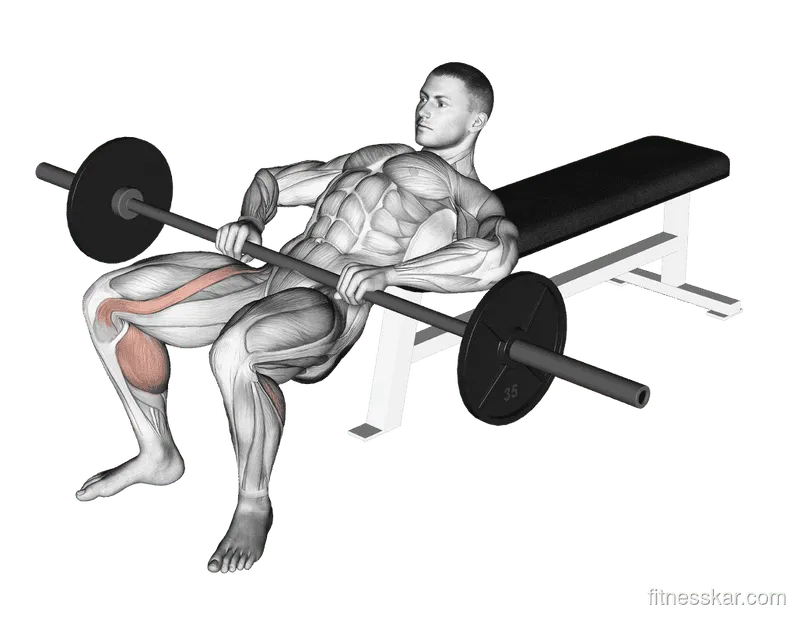
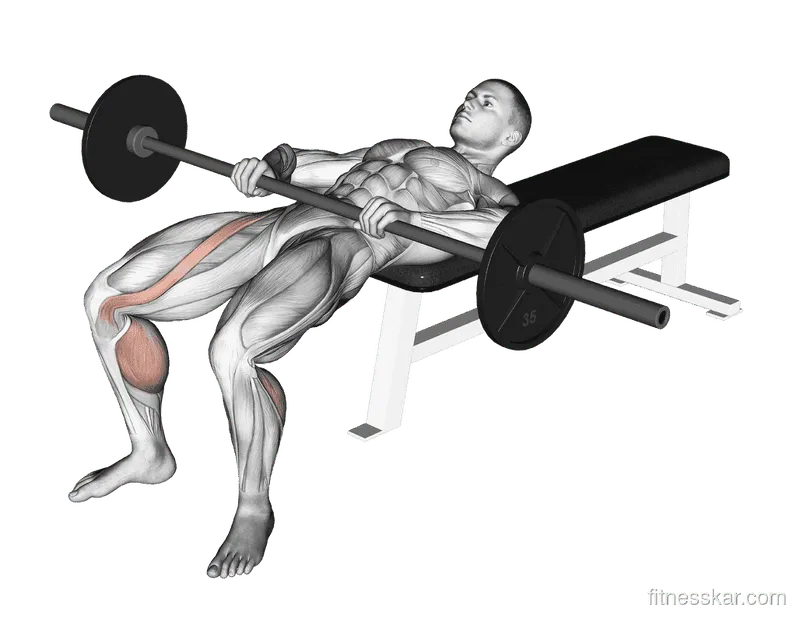
- Sets
- 3–4
- Reps
- 8–12
- Rest
- 120 s
- Tempo
- 2–1–1
The biomechanics of the hip thrust: why it builds glutes
To understand why the hip thrust is uniquely effective for glute development, we must examine the length-tension relationship of the gluteus maximus and the vector of external resistance. In traditional lower-body exercises like the back squat, lunge, or Romanian deadlift, the resistance vector is vertical (axial loading). Because gravity pulls straight down, maximum resistance occurs when your hips are flexed at the bottom of the movement—when the glute fibers are under deep stretch. As you stand upright toward full hip extension, the internal moment arm diminishes, and external tension on the glutes drops to near zero at the top.
The hip thrust fundamentally changes this biomechanical equation by introducing an anteroposterior (horizontal) force vector. Because you are lying horizontally with your upper back supported on a bench and the load resting across your hips, gravity acts perpendicularly to your torso at lockout. Consequently, the moment arm of resistance is longest—and mechanical tension is greatest—at full hip extension, exactly where the gluteus maximus reaches its shortest operational length.
Furthermore, electromyographic (EMG) studies consistently indicate that the hip thrust recruits both the upper and lower divisions of the gluteus maximus to a greater average degree throughout the repetition than the back squat. Because the knees remain bent at roughly 90 degrees at the peak of the movement, the hamstrings are placed in active insufficiency (partially shortened at both the hip and knee joints), which impairs their capacity to produce hip extension force. This biomechanical arrangement forces the gluteus maximus to shoulder the vast majority of the extension workload.
A landmark randomized controlled trial conducted by Plotkin and colleagues directly compared the effects of the barbell hip thrust and back squat on gluteus maximus hypertrophy over nine weeks of structured training in resistance-trained women.[1] The researchers confirmed that both exercises elicited similar, statistically meaningful glute growth, while the squat produced superior quadriceps hypertrophy. Rather than treating the hip thrust and squat as mutually exclusive competitors, elite programming pairs them together: squats for stretched-position loading and hip thrusts for shortened-position peak tension.
Equipment checklist and gym setup
Setting up for a heavy hip thrust can feel cumbersome without a structured system. Having the right equipment properly arranged saves energy, prevents bruising, and ensures repeatable technique.
Before loading your first working set, verify each of the following components:
- A stable, non-slip bench or hip thrust box: Your bench must not slide backward when you drive into it. Place it securely against a wall, weight rack, or heavy rubber bumper plates. An ideal bench height is 14 to 16 inches (35 to 40 cm) off the ground. Standard commercial flat benches are often 17 to 18 inches tall, which is too high for many lifters and forces excessive anterior pelvic tilt before the bar leaves the floor. If your gym bench is too tall, use an aerobic step platform loaded with risers or a specialized hip thrust pad.
- Standard-diameter Olympic bumper plates: Using full-sized 450 mm (17.7 inch) bumper plates allows the barbell to sit high enough off the floor so you can easily roll it over your legs and onto your hips without awkward contortions. If you are warming up with lighter weights (such as 10 or 25-pound plates that have a smaller diameter), elevate the plates on aerobic steps or use full-diameter technique plates.
- High-density foam barbell pad: Never place a naked barbell directly across your pubic bone or iliac crests. A heavy knurled steel bar pressing against superficial bone produces acute pain and bruising, which naturally inhibits maximum neural drive. Invest in a dedicated, high-density foam barbell pad (at least 1.25 inches thick) with Velcro or strap closures, or fold an Airex balance pad over your hips.
Step-by-step technique: how to hip thrust with perfect form
Executing a flawless barbell hip thrust requires coordinating the upper back, feet, hips, and cervical spine into a unified lever system. Follow this step-by-step masterclass protocol on every rep.
Step 1: Upper back placement on the bench
Sit on the gym floor with your back firmly against the long edge of the bench. The bottom edge of your shoulder blades (the inferior angle of the scapulae) should rest directly against the top corner of the bench padding.
Roll the padded barbell over your extended legs until it rests squarely in the crease of your hips, just below the anterior superior iliac spine (ASIS) of your pelvis. Place your hands on the barbell just outside your thighs in an overhand grip to stabilize the bar and prevent it from rolling forward or backward during the set.
Step 2: Establish your foot width and shin angle
Bend your knees and draw your feet toward your buttocks. Plant your feet flat on the gym floor, roughly shoulder-width apart, with your toes pointed forward or flared slightly outward at a 15- to 30-degree angle.
Test your foot placement by performing a single bodyweight bridge before loading the barbell. Verify that at full lockout, your knees, hips, and shoulders form a clean, straight diagonal ramp, with your shins perpendicular to the floor.
Step 3: Neck alignment, eye gaze, and abdominal bracing
Before initiating the lift, tuck your chin firmly toward your chest, as if holding an orange between your chin and your collarbone. Fix your gaze straight ahead on the wall or your knees—never look up at the ceiling or throw your head backward over the bench.
Take a deep diaphragmatic breath into your lower abdomen and brace your core 360 degrees, pulling your ribcage down toward your belt line. Maintaining this "ribs-down" position locks your thoracic spine and pelvis together, ensuring that movement occurs strictly at the hip joint rather than through lumbar arching.
Step 4: The concentric drive and posterior pelvic tilt
Drive through the mid-foot and heels to push the floor away. As your hips rise, pivot smoothly along the bench edge at the level of your mid-back. Do not slide up the bench; treat the bench edge as a frictionless hinge.
As you approach the top of the movement, actively perform a posterior pelvic tilt (PPT). Think about rolling your belt buckle up toward your belly button and tucking your tailbone under. Squeeze your glutes with maximum voluntary effort. At the peak:
- Your hips should reach complete extension (0 degrees).
- Your torso, hips, and thighs should form a straight, horizontal tabletop.
- Your shins should be completely vertical.
- Your lower back should remain flat and neutral, with zero lumbar hyperextension.
- Your chin remains tucked, eyes facing forward.
Hold this peak contraction for a deliberate one to two seconds to capitalize on the shortened-position tension.
Step 5: Controlled eccentric descent
Lower the barbell under strict control over a two-second tempo. Maintain a rigid torso: your ribcage, pelvis, and head should move as a single rigid unit, dipping downward together as your hips hinge backward.
Allow your hips to descend until the weight plates lightly touch the floor, or pause just one to two inches above the ground to keep continuous mechanical tension on the glutes. Re-brace your core, verify your foot position, and initiate the next concentric drive without bouncing the plates off the floor.
Common hip thrust mistakes and biomechanical fixes
Even experienced lifters frequently commit subtle technical errors that blunt glute growth or provoke lower back irritation. Here are the five most prevalent faults and how to eliminate them.
1. Arching the lumbar spine instead of extending the hips
- The Mistake: Reaching for artificial height by arching the lower back at the top of the rep, often accompanied by letting the head fall backward over the bench.
- The Biomechanical Fix: Keep your chin glued to your chest and maintain a forward gaze. Picture your spine from your neck to your tailbone as a steel rod. At lockout, focus entirely on squeezing your glute cheeks together and tucking your pelvis under (PPT). If you cannot reach full lockout without arching your back, the load is too heavy.
2. Incorrect foot placement (quad or hamstring dominance)
- The Mistake: Placing the feet either too far out (causing hamstring cramps) or too tucked in (causing knee strain and burning quads).
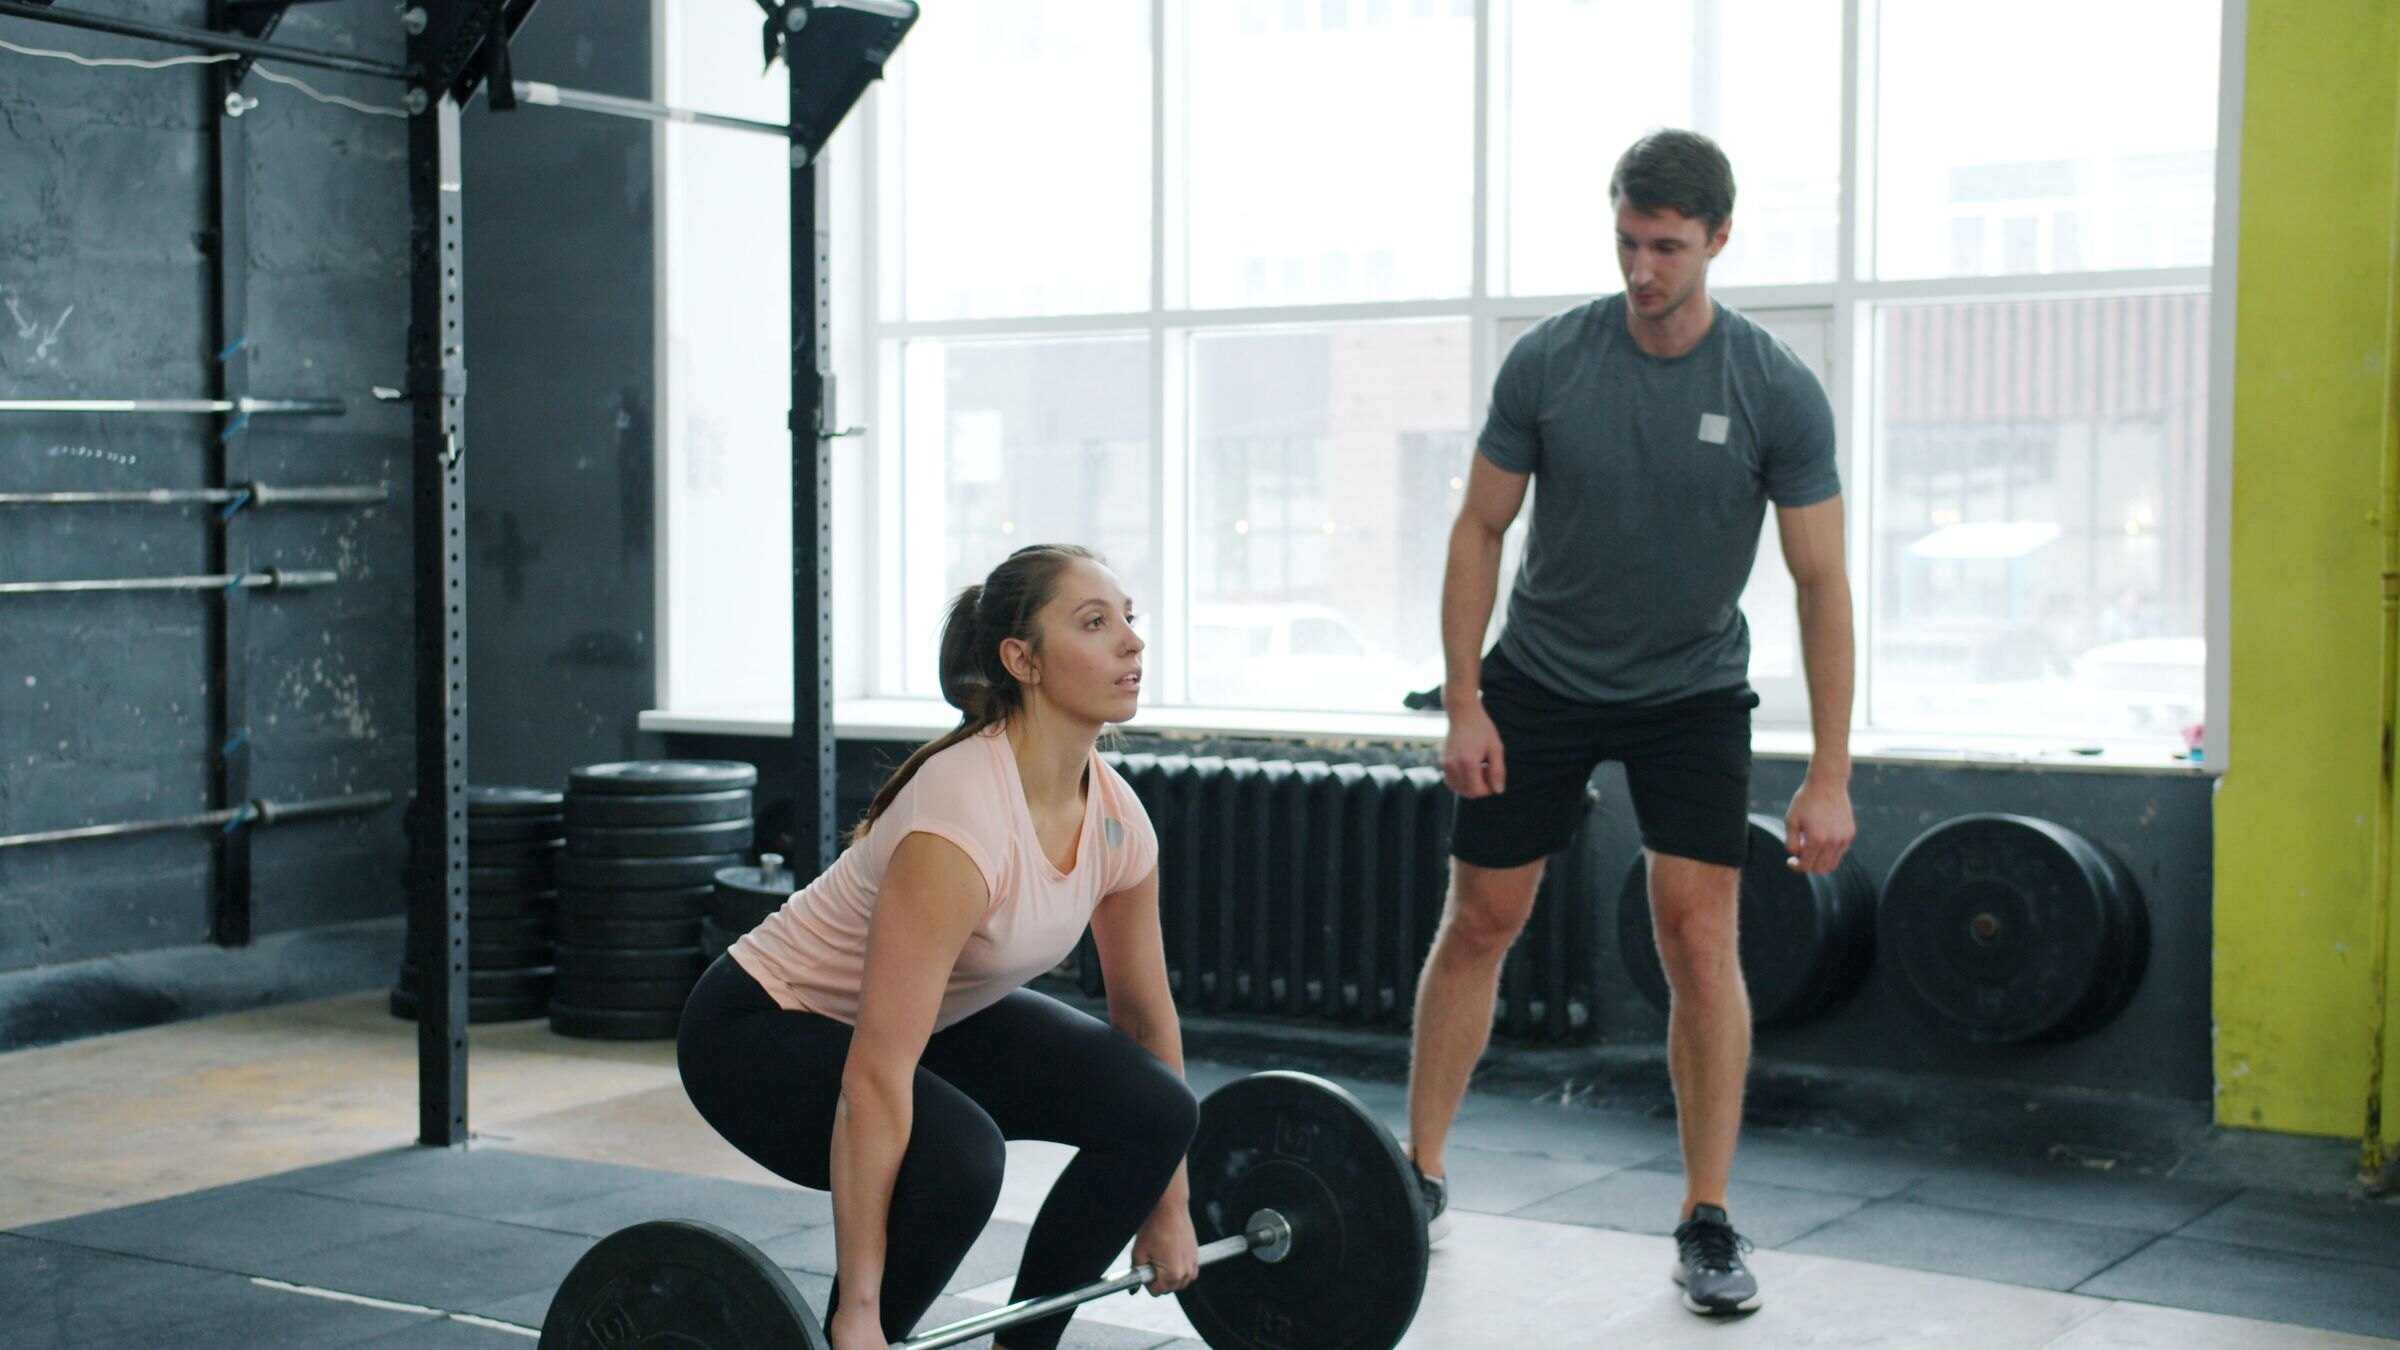
- The Biomechanical Fix: Set a camera at side view or have a training partner verify your shin angle at the top of the rep. Your tibia should be perpendicular to the floor at 90 degrees of knee flexion. If you feel too much hamstring tension, slide your feet two inches backward toward your torso; if you feel too much quadriceps tension, step your feet two inches forward.
3. Bouncing the barbell off the floor
- The Mistake: Dropping rapidly through the eccentric phase and using the rebound of the bumper plates to propel the bar upward through the initial sticking point.
- The Biomechanical Fix: Control the descent over two full seconds. Bring the plates to a complete dead-stop on the floor or tap the floor with feather lightness before driving upward. Eliminating momentum forces your glute fibers to overcome inertia from a dead stop, generating superior motor unit recruitment.
4. Knee collapse (valgus) during the ascent
- The Mistake: Allowing the knees to cave inward toward each other as fatigue mounts or when moving heavy loads.
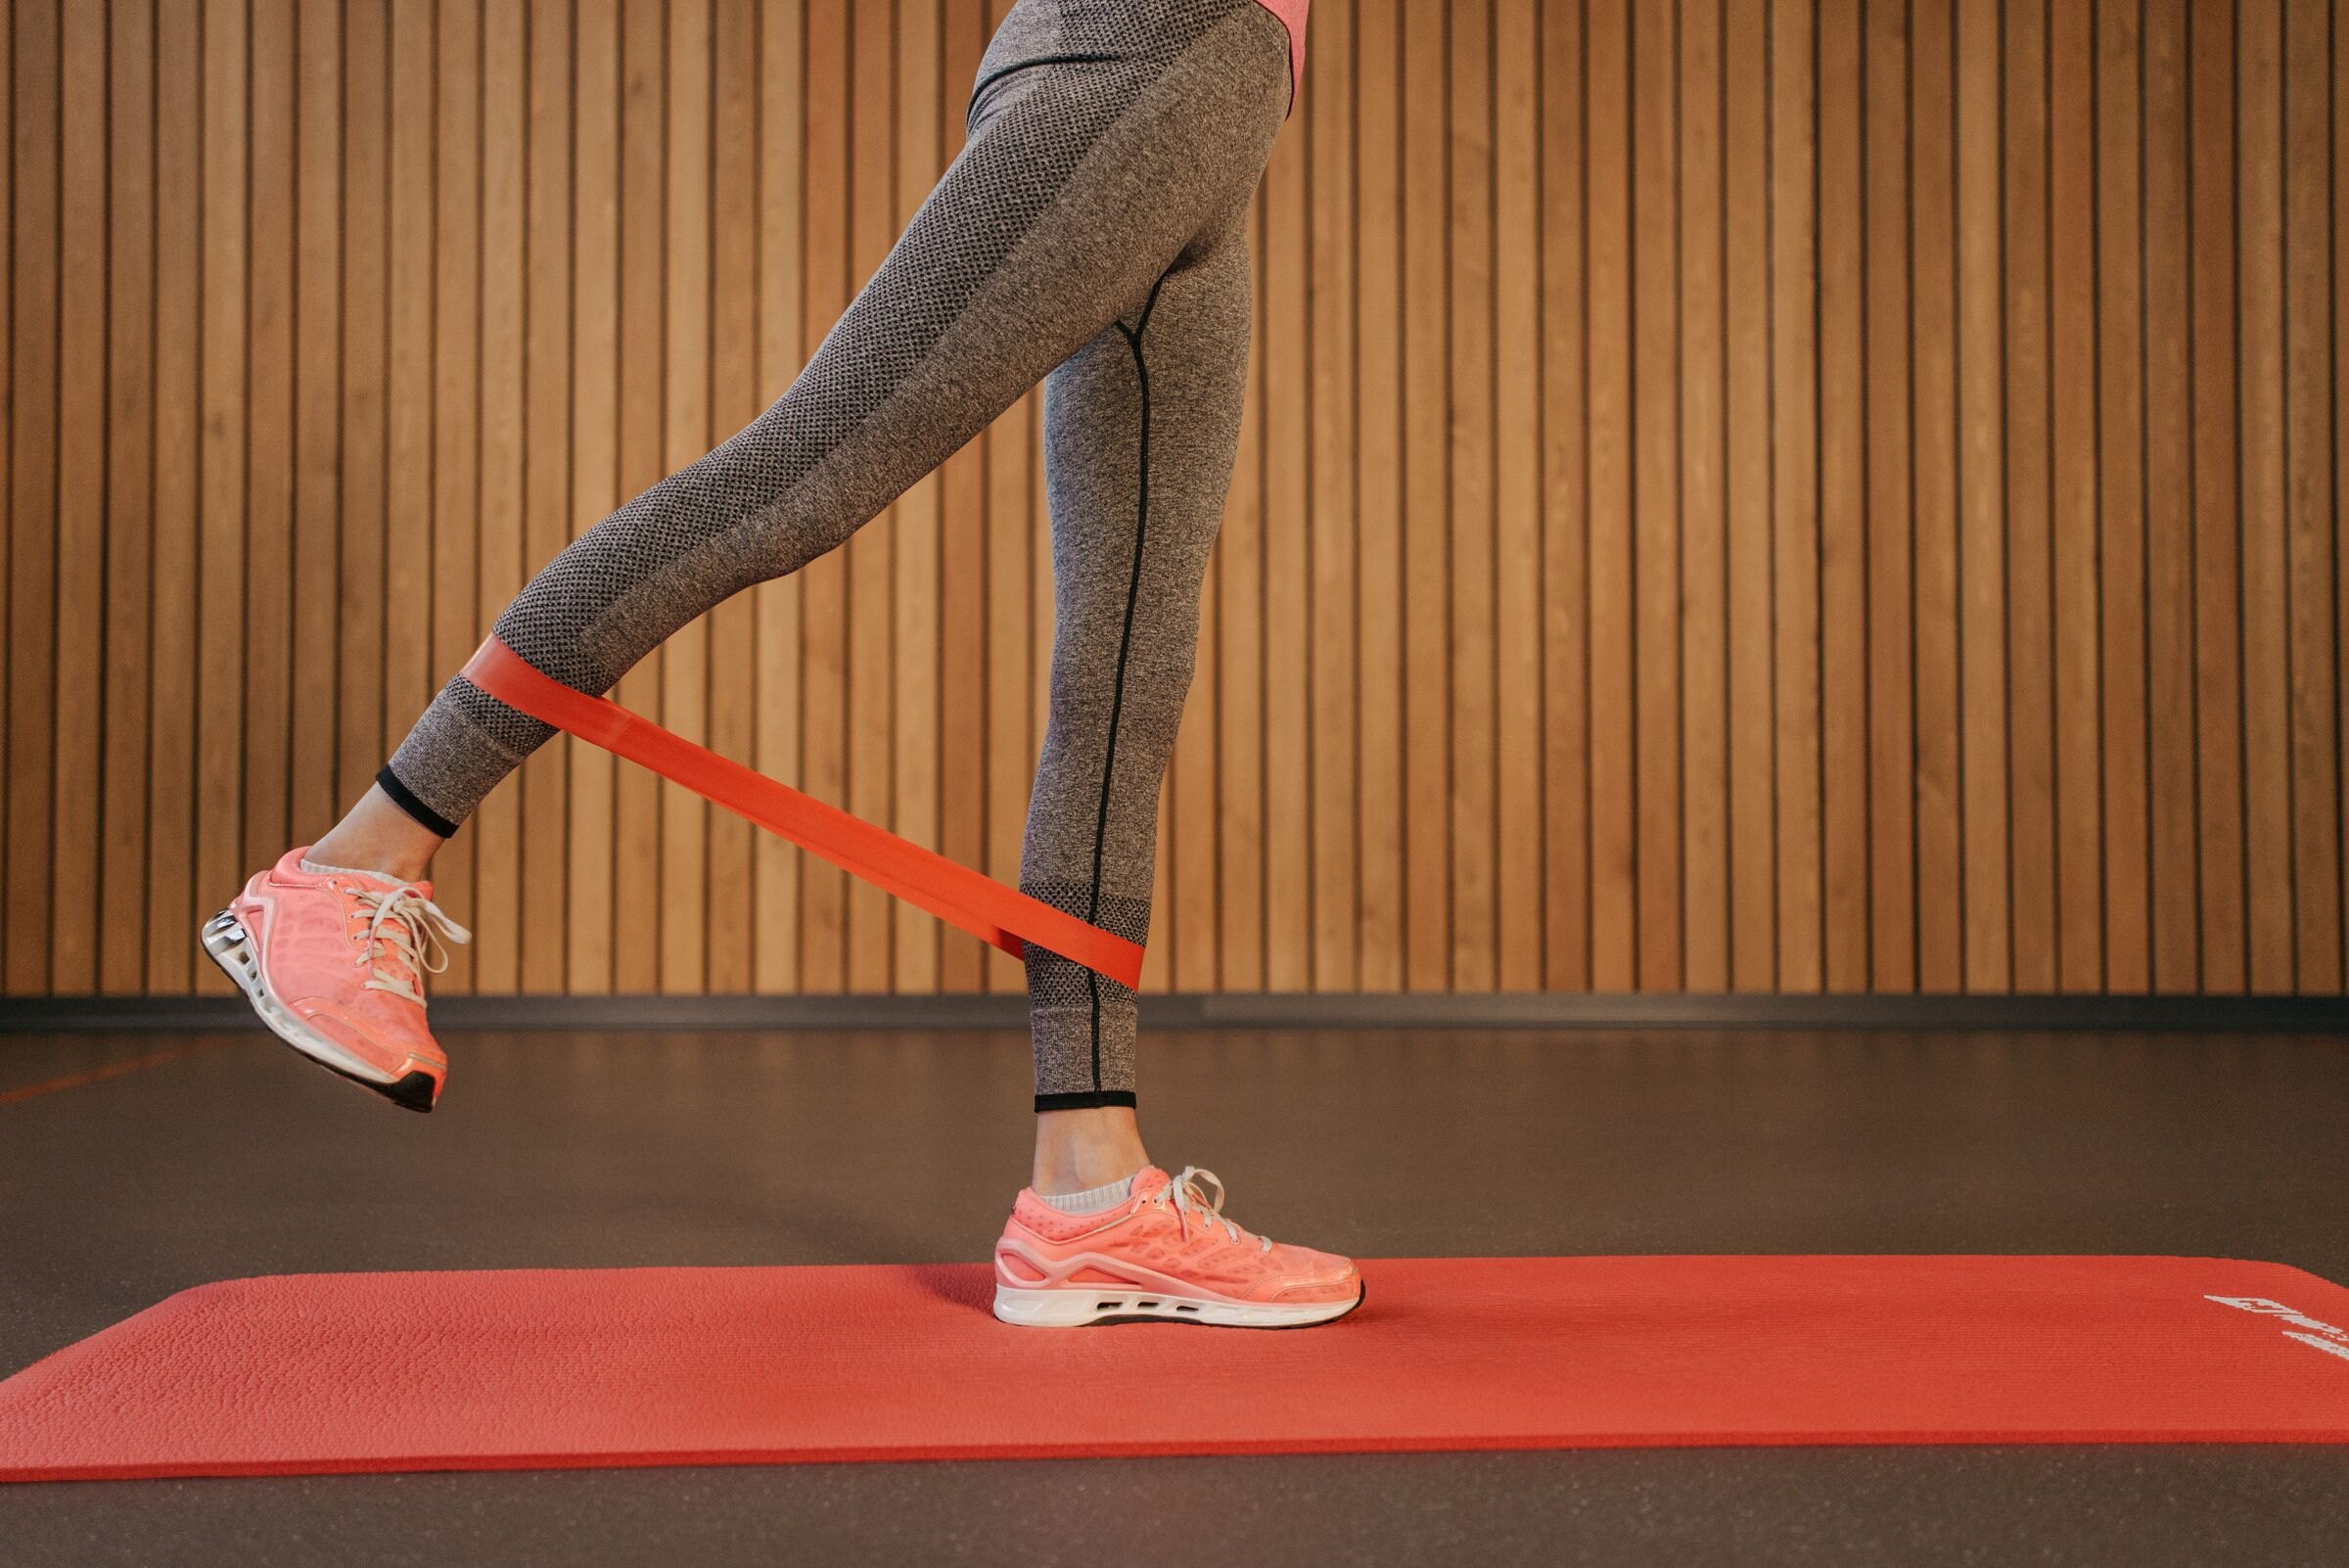
- The Biomechanical Fix: Flare your toes out slightly (15 to 30 degrees) and actively push your knees outward against imaginary resistance so they track directly in line with your middle toes. You can also place a light looped mini-band around your distal thighs (just above the knees) during warmup sets to cue the gluteus medius to resist hip adduction.
5. Inadequate padding and bruising
- The Mistake: Using a thin yoga mat or towel that flattens under load, leading to pain that causes premature set termination before the glutes reach true muscular fatigue.
- The Biomechanical Fix: Use an ergonomic, closed-cell barbell foam pad designed specifically for heavy hip thrusting. Position the pad dead-center on the bar so both hips receive equal protection.
Hip thrust vs. glute bridge vs. back squat: how they compare
Lifters often wonder whether they should perform hip thrusts, glute bridges, or back squats. Each exercise occupies a distinct biomechanical niche in a comprehensive lower-body program.
| Exercise | Primary Loading Position | Range of Motion | Peak Tension Angle | Equipment Needed |
|---|---|---|---|---|
| Barbell Hip Thrust | Shortened | Full (large hip excursion) | Full hip extension (0°) | Barbell, plates, bench, thick pad |
| Barbell Glute Bridge | Shortened | Partial (floor limits depth) | Full hip extension (0°) | Barbell, plates, floor mat, pad |
| Barbell Back Squat | Lengthened (stretched) | Full (deep knee/hip flexion) | Deep flexion / bottom of squat | Barbell, squat rack, weight plates |
While the barbell glute bridge is performed with your back flat on the floor, the elevated back in the hip thrust significantly increases the range of motion, allowing the hips to travel into deep flexion beneath the bench. This increased displacement nearly doubles the mechanical work performed per repetition. Meanwhile, the back squat delivers immense tension to the quads and adductors in their stretched states, making it the ideal counterpart to the hip thrust.
Essential variations and progressions
Depending on your training experience, available equipment, and anatomical levers, several variations of the hip thrust can be incorporated into your routine.
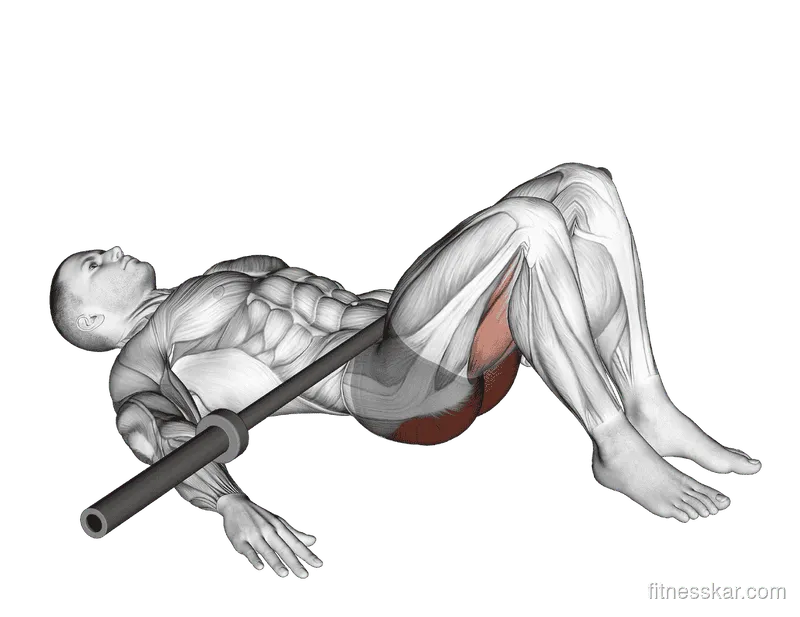
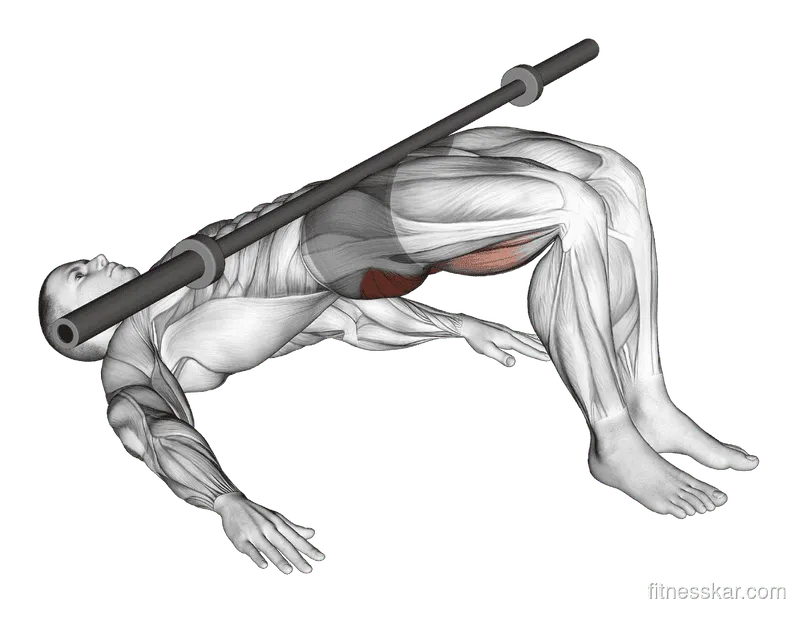
1. The barbell glute bridge
For lifters who train in crowded gyms without access to a suitable bench or those experiencing lower back sensitivity, the barbell glute bridge is an exceptional alternative. Because your upper back remains grounded on the floor, the range of motion is shorter and spinal shearing is minimized, allowing you to overload hip extension with massive weights.
- Sets
- 3–4
- Reps
- 10–12
- Rest
- 90 s
2. Single-leg and B-stance hip thrusts
Unilateral variations are vital for identifying and correcting side-to-side strength asymmetries between your right and left glutes. The barbell one-leg hip thrust places the entire workload onto a single hip, demanding extraordinary pelvic stability from the gluteus medius and core musculature.
If full single-leg thrusts feel unstable, utilize a "B-stance" (staggered stance) setup: place 80% of your weight on the working leg while the kickstand foot rests lightly on its heel a few inches forward for balance. This permits heavier overload while still isolating each glute independently.
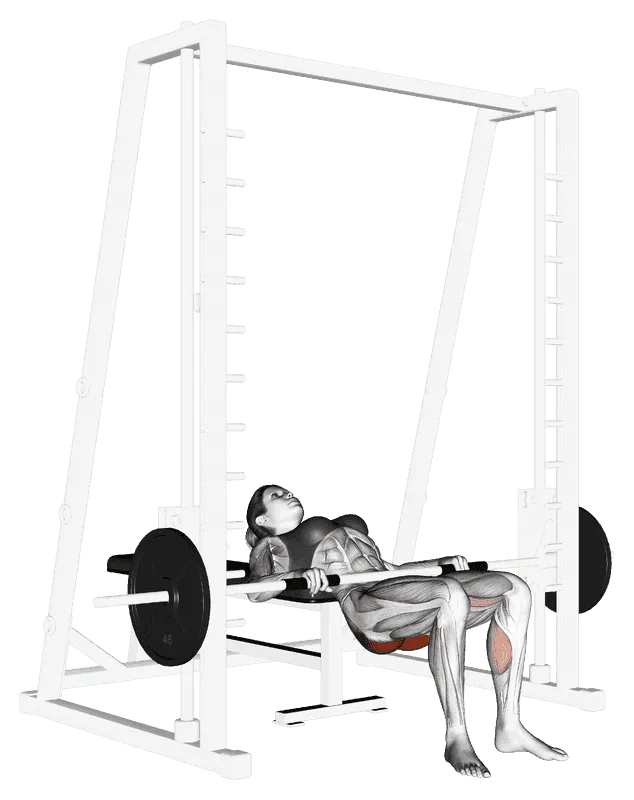
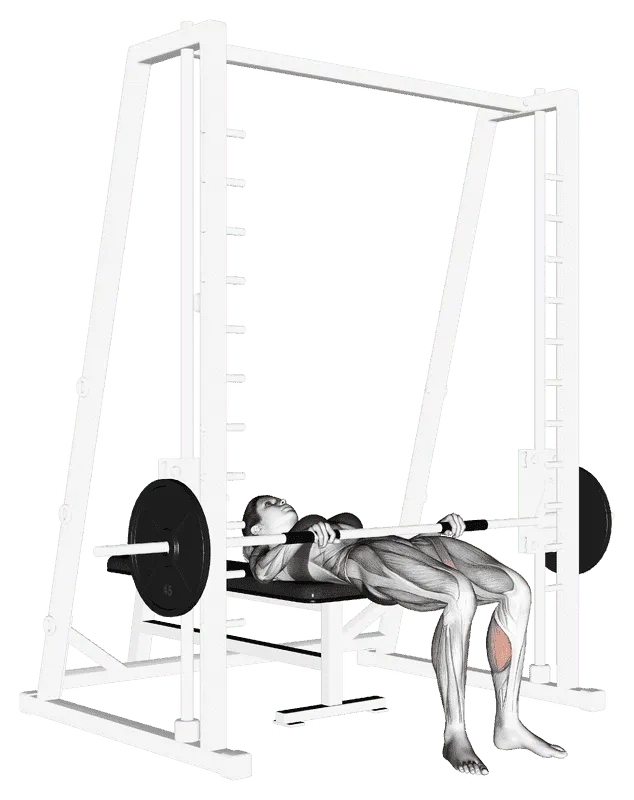
3. Smith machine hip thrust
The Smith machine hip thrust provides a fixed barbell bar path that eliminates the balance and stabilization demands of a free barbell. This allows you to focus purely on mind-muscle connection and push your working sets directly to absolute muscular failure with complete safety.
- Sets
- 3
- Reps
- 10–15
- Rest
- 90 s
4. Cable kickbacks and abduction accessories
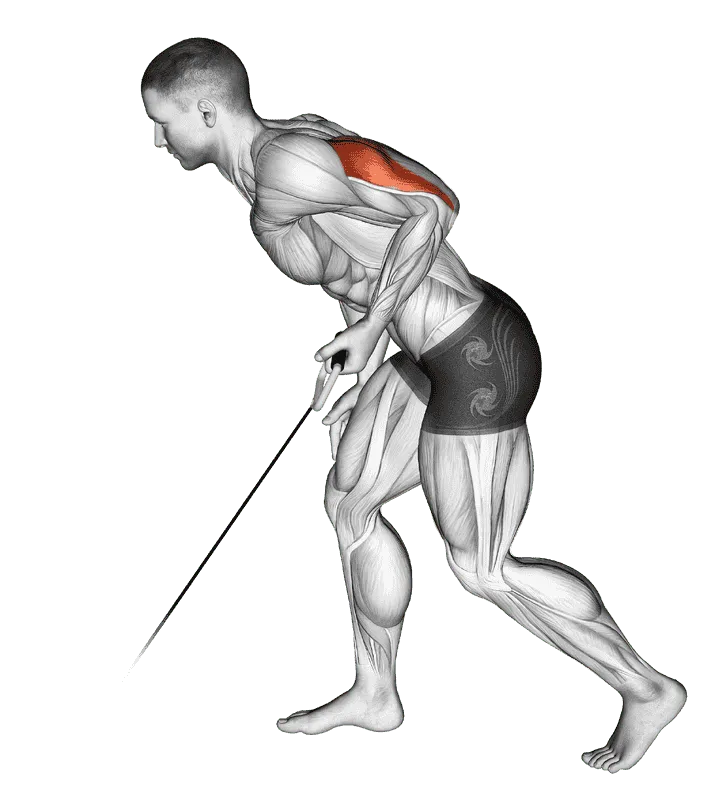
To achieve complete, three-dimensional glute development, pair your heavy sagittal-plane hip thrusts with dedicated coronal-plane exercises. Incorporating cable kickbacks and hip abduction movements recruits the gluteus medius, minimus, and upper gluteus maximus fibers, creating visual fullness across the upper lateral hips.
How to program the hip thrust for maximum hypertrophy
To maximize muscle growth, apply the principles of progressive overload by methodically increasing load, reps, or set volume over time. The gluteus maximus contains a balanced mix of roughly 50% slow-twitch and 50% fast-twitch muscle fibers, meaning it responds best to a spectrum of repetition ranges rather than low-rep strength work alone.
Follow these evidence-based programming guidelines:
- Weekly Training Frequency: Train the glutes 2 to 3 times per week, allowing 48 to 72 hours of recovery between intense hip extension sessions.
- Weekly Volume Landmarks: Aim for 8 to 16 direct working sets for the glutes per week. Beginners thrive on 8 to 10 sets, while intermediate and advanced lifters benefit from 12 to 18 sets distributed across multiple sessions.
- Heavy strength loading: 6 to 8 reps with heavier loads and 2 to 3 minutes of rest between sets.
- Moderate hypertrophy loading: 8 to 12 reps with a 1-second pause at lockout and 90 to 120 seconds of rest.
- Metabolic stress finishers: 15 to 20 reps (or drop sets) focusing on peak burn and continuous tension.
- Proximity to Failure: Take the majority of your working sets to within 1 to 2 Reps in Reserve (RIR), occasionally taking the final set of a workout to true muscular failure.
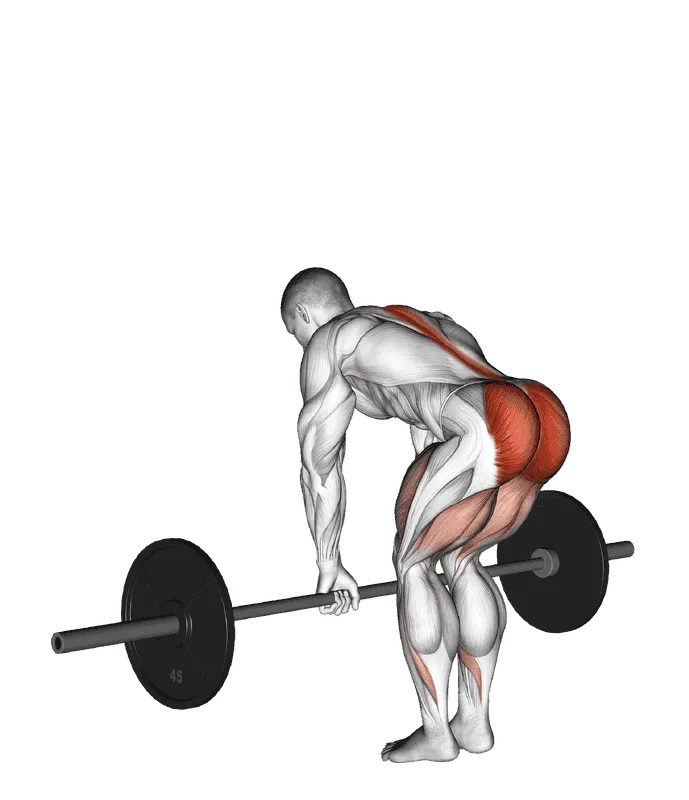
- Complementary Exercise Pairing: On lower-body days, pair your hip thrusts with a lengthened-position hip hinge, such as the barbell Romanian deadlift, and a compound squat pattern. Consult our comprehensive glute hypertrophy guide and women's hypertrophy guide for full periodization templates.
To integrate these movements into a structured, periodized workout split, follow our complete program in the Fitnesskar app:
Frequently asked questions
Why do I feel hip thrusts in my lower back instead of my glutes?
Feeling strain in your lower back almost always means you are hyperextending your lumbar spine at the top of the rep instead of extending your hips. Fix this by tucking your chin against your chest, keeping your eyes forward, and actively tucking your tailbone under into a posterior pelvic tilt (PPT) at lockout.
How high should the bench be for hip thrusts?
The ideal bench height is 14 to 16 inches (35 to 40 cm) off the floor. The bench edge should sit directly below the bottom tips of your shoulder blades. If your bench is too high, your hips cannot achieve optimal leverage, which often leads to lumbar arching.
Should I thrust through my heels or my whole foot?
Drive through your whole foot while keeping your primary pressure anchored through your mid-foot and heel. Avoid curling your toes off the floor, as planting your big toe helps stabilize the foot tripod and promotes natural hip extension.
Can the hip thrust replace the back squat for glute growth?
While research shows both exercises produce similar glute hypertrophy, they load the muscle at opposite lengths. The squat loads the glutes in a deep stretch, while the hip thrust loads them in full contraction. For optimal development, include both movements in your training program.
How often should I perform barbell hip thrusts per week?
Performing hip thrusts 2 to 3 times per week is optimal for most lifters. Because the hip thrust emphasizes the shortened position and causes less muscle damage than deep stretched exercises, recovery is relatively rapid.
Sources
- Plotkin D, Rodas M, Vigotsky AD, et al. Hip thrust and back squat training elicit similar gluteus maximus hypertrophy in resistance-trained women: a randomized controlled trial. Journal of Sports Sciences. 2023. doi.org/10.1080/02640414.2023.2274640 ↩