Lower back pain is the single most common physical obstacle preventing dedicated lifters from realizing their true strength potential. Many athletes believe that lifting heavy barbells inevitably damages the lumbar spine, but clinical biomechanics reveals the opposite truth: the human spine is an adaptable, robust structure capable of withstanding immense compressive loads when trained according to sound physiological principles. Building lasting lower back durability does not mean avoiding heavy compound movements like the barbell squat or the barbell deadlift; it requires understanding how the spine handles mechanical forces, developing isometric muscular stiffness, and mastering the motor patterns that shield your intervertebral discs from destructive shear stresses.
The Biomechanics of the Lumbar Spine: Stability vs. Mobility
To build a resilient lower back, you must first understand the structural anatomy of the lumbar spine and how it interacts with the surrounding musculoskeletal architecture. The lumbar region consists of five massive vertebrae (L1 through L5) separated by fibrocartilaginous intervertebral discs. Each disc features a gelatinous inner core called the nucleus pulposus, surrounded by a tough, multilayered collagen ring known as the annulus fibrosus. Together with the facet joints, these structures form a column engineered to support your torso and absorb ground reaction forces during locomotion and heavy lifting.
A critical principle in orthopedic sports science is the Joint-by-Joint concept. Human joints alternate between requiring mobility and stability:
- The Ankles: Require mobility in dorsiflexion.
- The Knees: Require stability in the sagittal plane.
- The Hips: Require multi-planar ball-and-socket mobility.
- The Lumbar Spine: Requires rigid stability.
- The Thoracic Spine: Requires mobility in extension and rotation.
- The Scapulothoracic Joint: Requires stability against the rib cage.
When this functional hierarchy breaks down, injuries occur at the nearest stable segment. Lifters who lack adequate hip mobility or thoracic extension invariably force their lumbar spine into excessive flexion or rotation during squats, deadlifts, and overhead presses. While the ball-and-socket hip joint is anatomically designed to rotate through deep ranges of motion, the lumbar facet joints permit only trivial amounts of axial rotation (approximately one to two degrees per segment). Forcing the lumbar spine to move under load places acute rotational torque directly onto the annulus fibrosus.
Furthermore, biological tissues respond differently to different types of mechanical stress:
- Compressive Loads: Direct axial downward pressure along the long axis of the spine. The human lumbar spine in a neutral posture can safely tolerate compressive forces exceeding ten thousand Newtons, as the load is distributed evenly across the disc surface and vertebral endplates.
- Shear Loads: Forces that push one vertebra forward or sideways across the top of another. Shear stresses bend and stretch the delicate collagen rings of the annulus fibrosus, driving the nucleus pulposus backward toward sensitive spinal nerves.
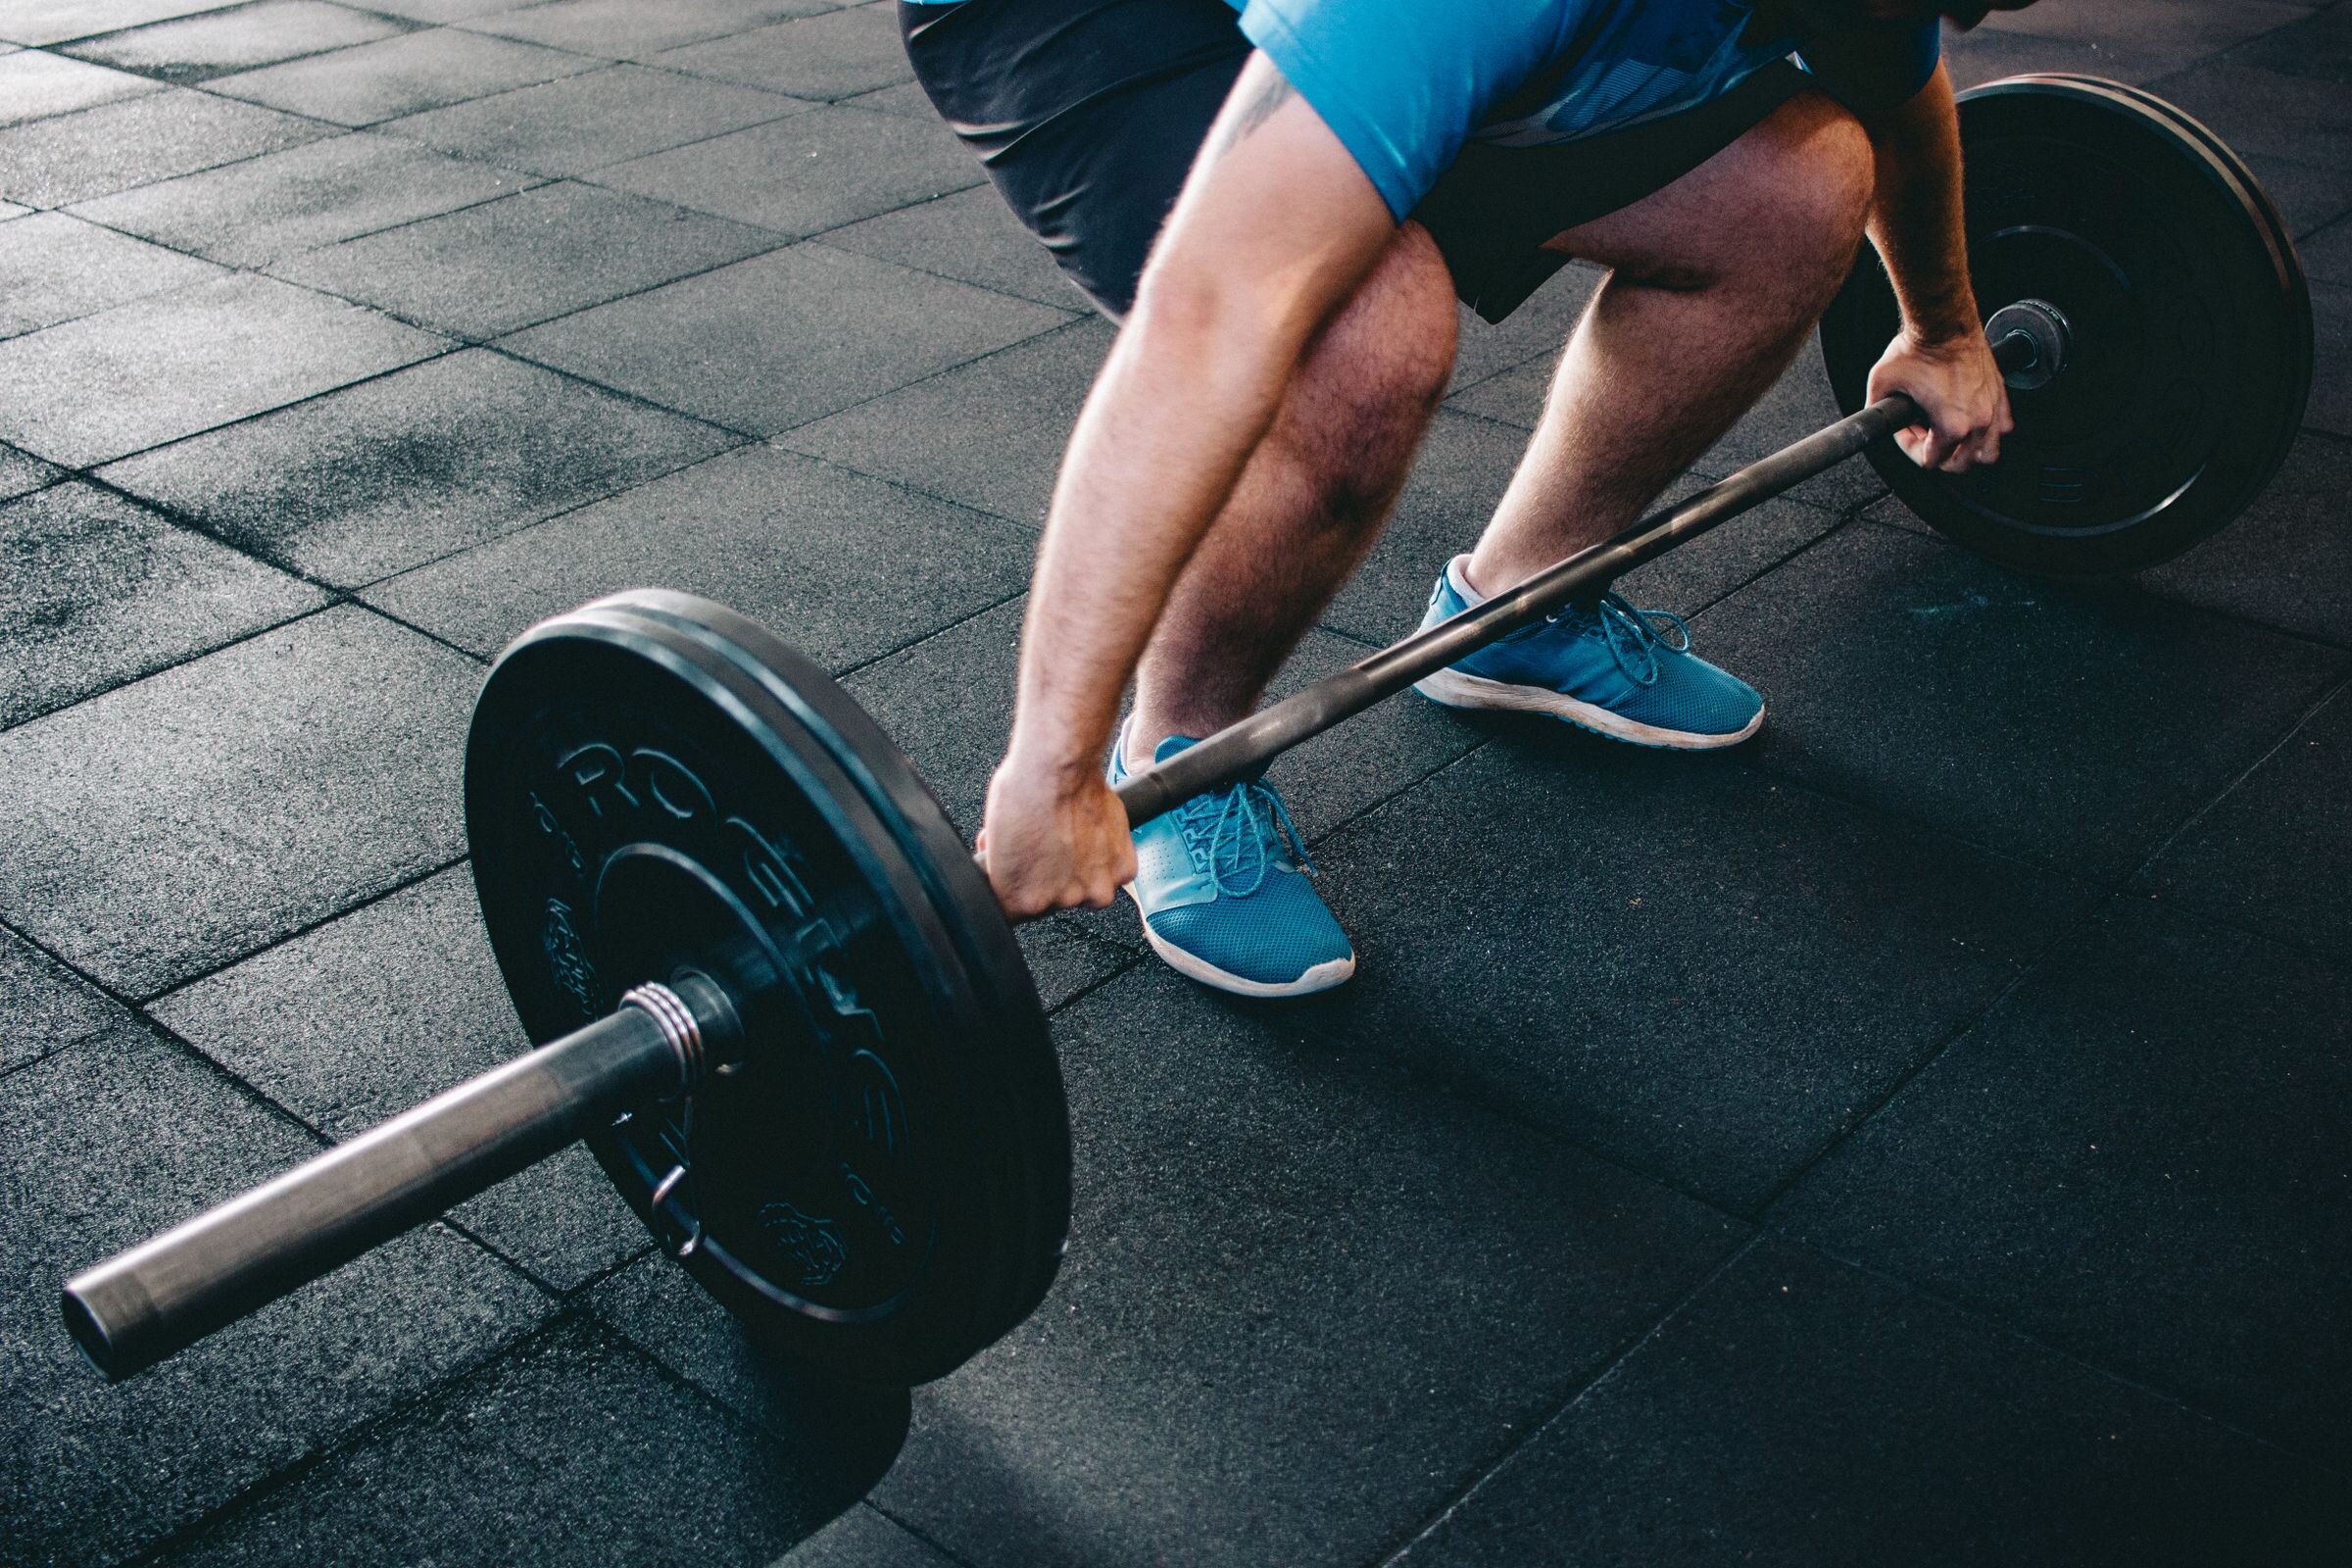
When you round your lower back at the bottom of a heavy pull, you transform a safe compressive load into a dangerous anterior shear load. Maintaining spinal neutrality ensures that mechanical forces remain compressive, where your skeletal architecture is strongest. For a deeper understanding of overall connective tissue remodeling and joint longevity across the entire body, consult our comprehensive joint durability guide.
The Stuart McGill Paradigm: Core Stiffness over Lumbar Motion
For decades, fitness programming promoted dynamic spinal flexion—such as sit-ups, Roman chair crunches, and twisting Russian twists—under the mistaken belief that flexing the spine through full range of motion strengthens the core. Pioneering research led by spine biomechanist Dr. Stuart McGill fundamentally overturned this dogma by proving that the core musculature is designed to prevent movement, not create it.
In his landmark clinical investigations into spine stabilization and back disorders, McGill demonstrated that the abdominal wall, obliques, and back extensors function biomechanically as guy-wires on a ship's mast.[1] The spine is an inherently flexible, segmented rod that would buckle under as little as twenty pounds of load without active muscular tension. By contracting the muscular guy-wires simultaneously, you generate total three-dimensional stiffness, locking the vertebral segments together into a rigid, unyielding beam capable of transferring massive horsepower from your legs into the barbell without energy leakage.[1]
Crucially, McGill’s research established that muscular endurance—the ability of postural muscles to maintain low-level isometric tension for prolonged durations without fatigue—is a far greater predictor of spinal durability than maximal one-rep strength.[1] When stabilizer muscles fatigue, motor control degrades, allowing small, uncontrolled micro-movements across individual lumbar segments that trigger inflammatory back pain. To build lasting durability, your core training must emphasize endurance, motor control, and multi-planar stability rather than heavy, low-rep flexion exercises.
Intra-Abdominal Pressure (IAP) and the 360-Degree Radial Brace
True core stability does not come from isolating individual muscles; it emerges from the coordinated generation of intra-abdominal pressure (IAP). Think of your abdominal cavity as a sealed cylinder:
- The Top: The diaphragm muscle.
- The Bottom: The pelvic floor muscles.
- The Front and Sides: The transverse abdominis, internal obliques, and external obliques.
- The Back: The quadratus lumborum, multifidus, and erector spinae.
When you prepare to lift a heavy load, you must execute a proper diaphragmatic breath and 360-degree radial brace. Many lifters make the critical mistake of "hollowing"—drawing their navel in toward the spine. Hollowing reduces the diameter of the abdominal cylinder, decreases intra-abdominal pressure, and compromises the mechanical base of support.
The Correct 360-Degree Bracing Sequence
To create an impenetrable hydraulic buffer that unloads the lumbar spine, follow this three-step protocol:
- Inhale Diaphragmatically: Take a deep breath into your belly, flanks, and lower back without elevating your shoulders. Feel your lower ribs expand outward in three dimensions.
- Radial Abdominal Brace: Simultaneously contract your abdominal wall, obliques, and lats as if preparing to take a punch to the stomach. Do not push your belly out passively; actively clamp down on the pressurized air.
- Co-Contract the Pelvic Floor and Glutes: Lock your pelvis in a neutral position to establish an unshakeable connection between your trunk and hips.
This mechanism acts as a hydraulic amplifier. By pressurizing the fluid and visceral contents within the abdominal cavity, IAP generates an internal extending moment that directly counteracts forward bending torque, reducing compressive loads on the lumbar discs by up to forty percent during heavy lifting. When applied alongside the principle of progressive overload, this bracing technique allows you to handle heavier weights safely while keeping your spine rock-solid.
Hip-Spine Dissociation: The Critical Hip Hinge Mechanism
One of the primary causes of lower back breakdown among strength athletes is "glute amnesia" and the loss of hip-spine dissociation. Prolonged sitting causes the hip flexors to adaptively shorten while downregulating neural drive to the gluteus maximus—a phenomenon known as reciprocal inhibition.
When lifters with inhibited glutes attempt to lift objects from the floor, their nervous system compensates through synergistic dominance: the hamstrings and lumbar erectors are forced to perform the work of hip extension. Because the erector spinae are designed primarily as postural stabilizers rather than prime movers for heavy hip extension, they rapidly succumb to mechanical overload, resulting in chronic lumbar spasms and facet irritation.
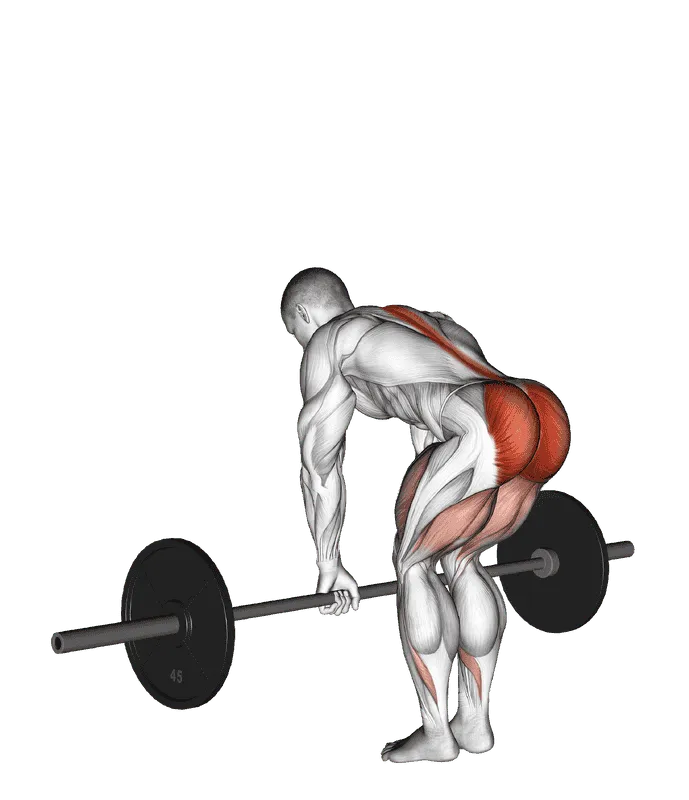
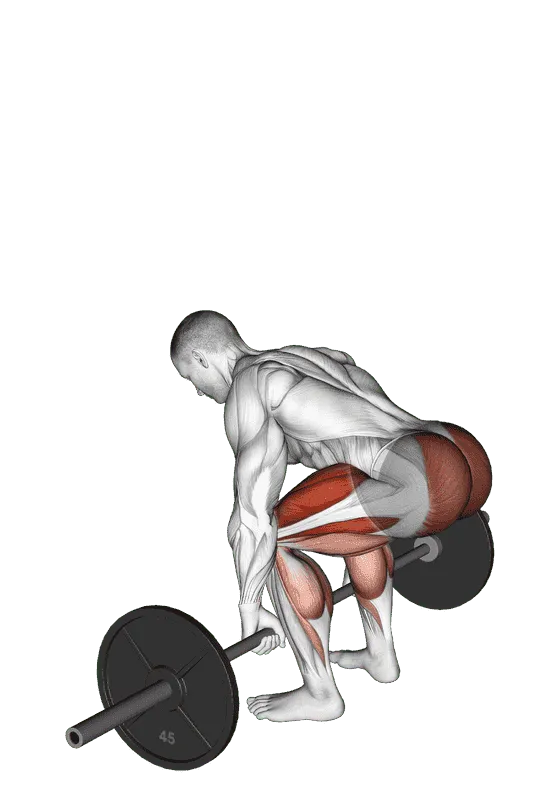
Mastering the hip hinge allows you to move exclusively through the robust ball-and-socket hip joints while keeping the lumbar spine completely locked in neutral. Exercises such as the Barbell Romanian Deadlift are exceptional tools for reinforcing this pattern, grooving the exact motor pathway needed to safeguard your back during pulling movements like the Barbell Deadlift. For a comprehensive breakdown of bar path, hip mechanics, and knee positioning during the hinge, study our detailed guide on how to Romanian deadlift.
- Sets
- 3
- Reps
- 8–10 breaths
- Rest
- 60 s
- Tempo
- isometric
The McGill Big Three Protocol: The Gold Standard for Spinal Durability
To build an indestructible core without imposing dangerous compressive loads on vulnerable spinal tissues, Dr. Stuart McGill designed the "Big Three"—a trio of isometric exercises that collectively challenge all planes of trunk stability:
1. The Modified Curl-Up (Anti-Flexion / Anterior Stiffness)
Unlike traditional sit-ups that bend the lumbar spine through dozens of degrees of destructive flexion, the modified curl-up trains the rectus abdominis while the spine remains completely motionless.
- Execution: Lie supine on a firm surface. Extend one leg straight and bend the opposite knee with the foot flat on the floor (this locks the pelvis and preserves the natural lordotic curve). Place both hands palms-down beneath the natural arch of your lower back to monitor spinal position.
- The Cue: Brace your abdominal wall and lift your head and shoulders off the floor as a single rigid unit by just one to two inches. Do not tuck your chin or curl your upper back; pivot through the thoracic spine while maintaining continuous pressure on your hands. Hold for eight to ten seconds, breathe smoothly, and slowly lower.
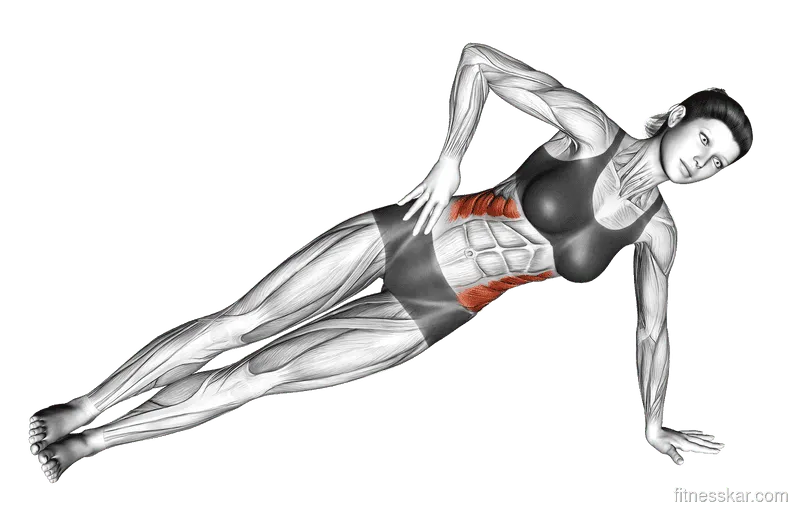
2. The Side Plank (Lateral Stability & Quadratus Lumborum)
The Side Plank targets the quadratus lumborum, external obliques, and transverse abdominis on the lateral side of the body—muscles vital for preventing lateral spine bending and pelvic tilt under asymmetrical loads.
- Execution: Lie on your side, supporting your weight on your forearm and the edges of your feet (or knees for beginners). Position your supporting elbow directly beneath your shoulder.
- The Cue: Elevate your hips until your body forms a straight line from your ears to your ankles. Squeeze your glutes and brace your core. Ensure your top hip does not rotate forward or backward. Hold for eight to ten seconds, lower under control, and alternate sides.
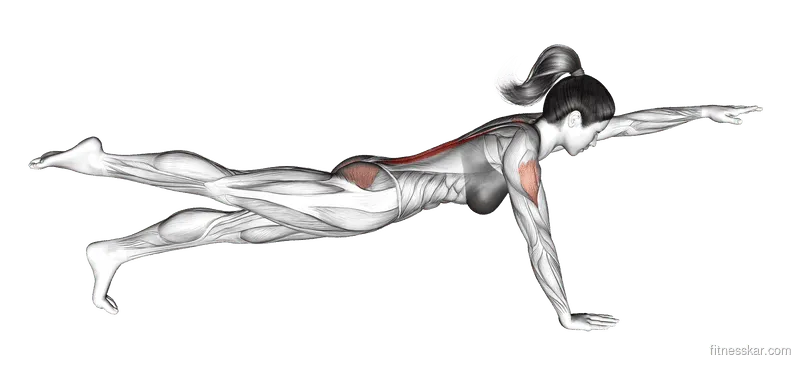
3. The Bird Dog (Posterior Chain & Rotational Stability)
The Bird Dog challenges the posterior chain cross-body sling (contralateral gluteus maximus and latissimus dorsi) while requiring the abdominal wall and multifidus to eliminate all lumbar rotation and extension.
- Execution: Begin on all fours on a padded mat with your hands directly under your shoulders and your knees beneath your hips. Establish a neutral spine with an active abdominal brace.
- The Cue: Simultaneously extend one arm forward and the opposite leg straight back until both are parallel to the floor. Do not lift your leg higher than hip height, as this hyperextends the lumbar spine. Imagine sweeping your heel backward toward the wall while clenching your fist forward. Hold for eight to ten seconds, sweep the arm and leg back without touching the floor, and repeat.
The Descending Pyramid Rep Scheme
Because the objective is building muscular endurance without inducing neuromuscular fatigue, perform the Big Three using a descending pyramid: five repetitions of ten-second holds, followed by three repetitions, and concluding with one repetition (5-3-1 scheme) per side. This approach maintains pristine motor quality and optimizes collagen stiffness across your stabilizers.
- Sets
- 3
- Reps
- 10–15
- Rest
- 90 s
- Tempo
- 3–1–2
Functional Conditioning for Spine Durability
Traditional endurance training often involves high-impact running on hard asphalt, which subjects the lumbar spine to thousands of repetitive, unpadded compressive impacts. For athletes seeking exceptional conditioning without sacrificing joint health, functional conditioning modalities offer a superior, joint-sparing alternative.
Loaded Carries: The King of Unilateral Trunk Stiffness
Carrying heavy weights while walking forces your core musculature to react dynamically to shifting foot strikes.
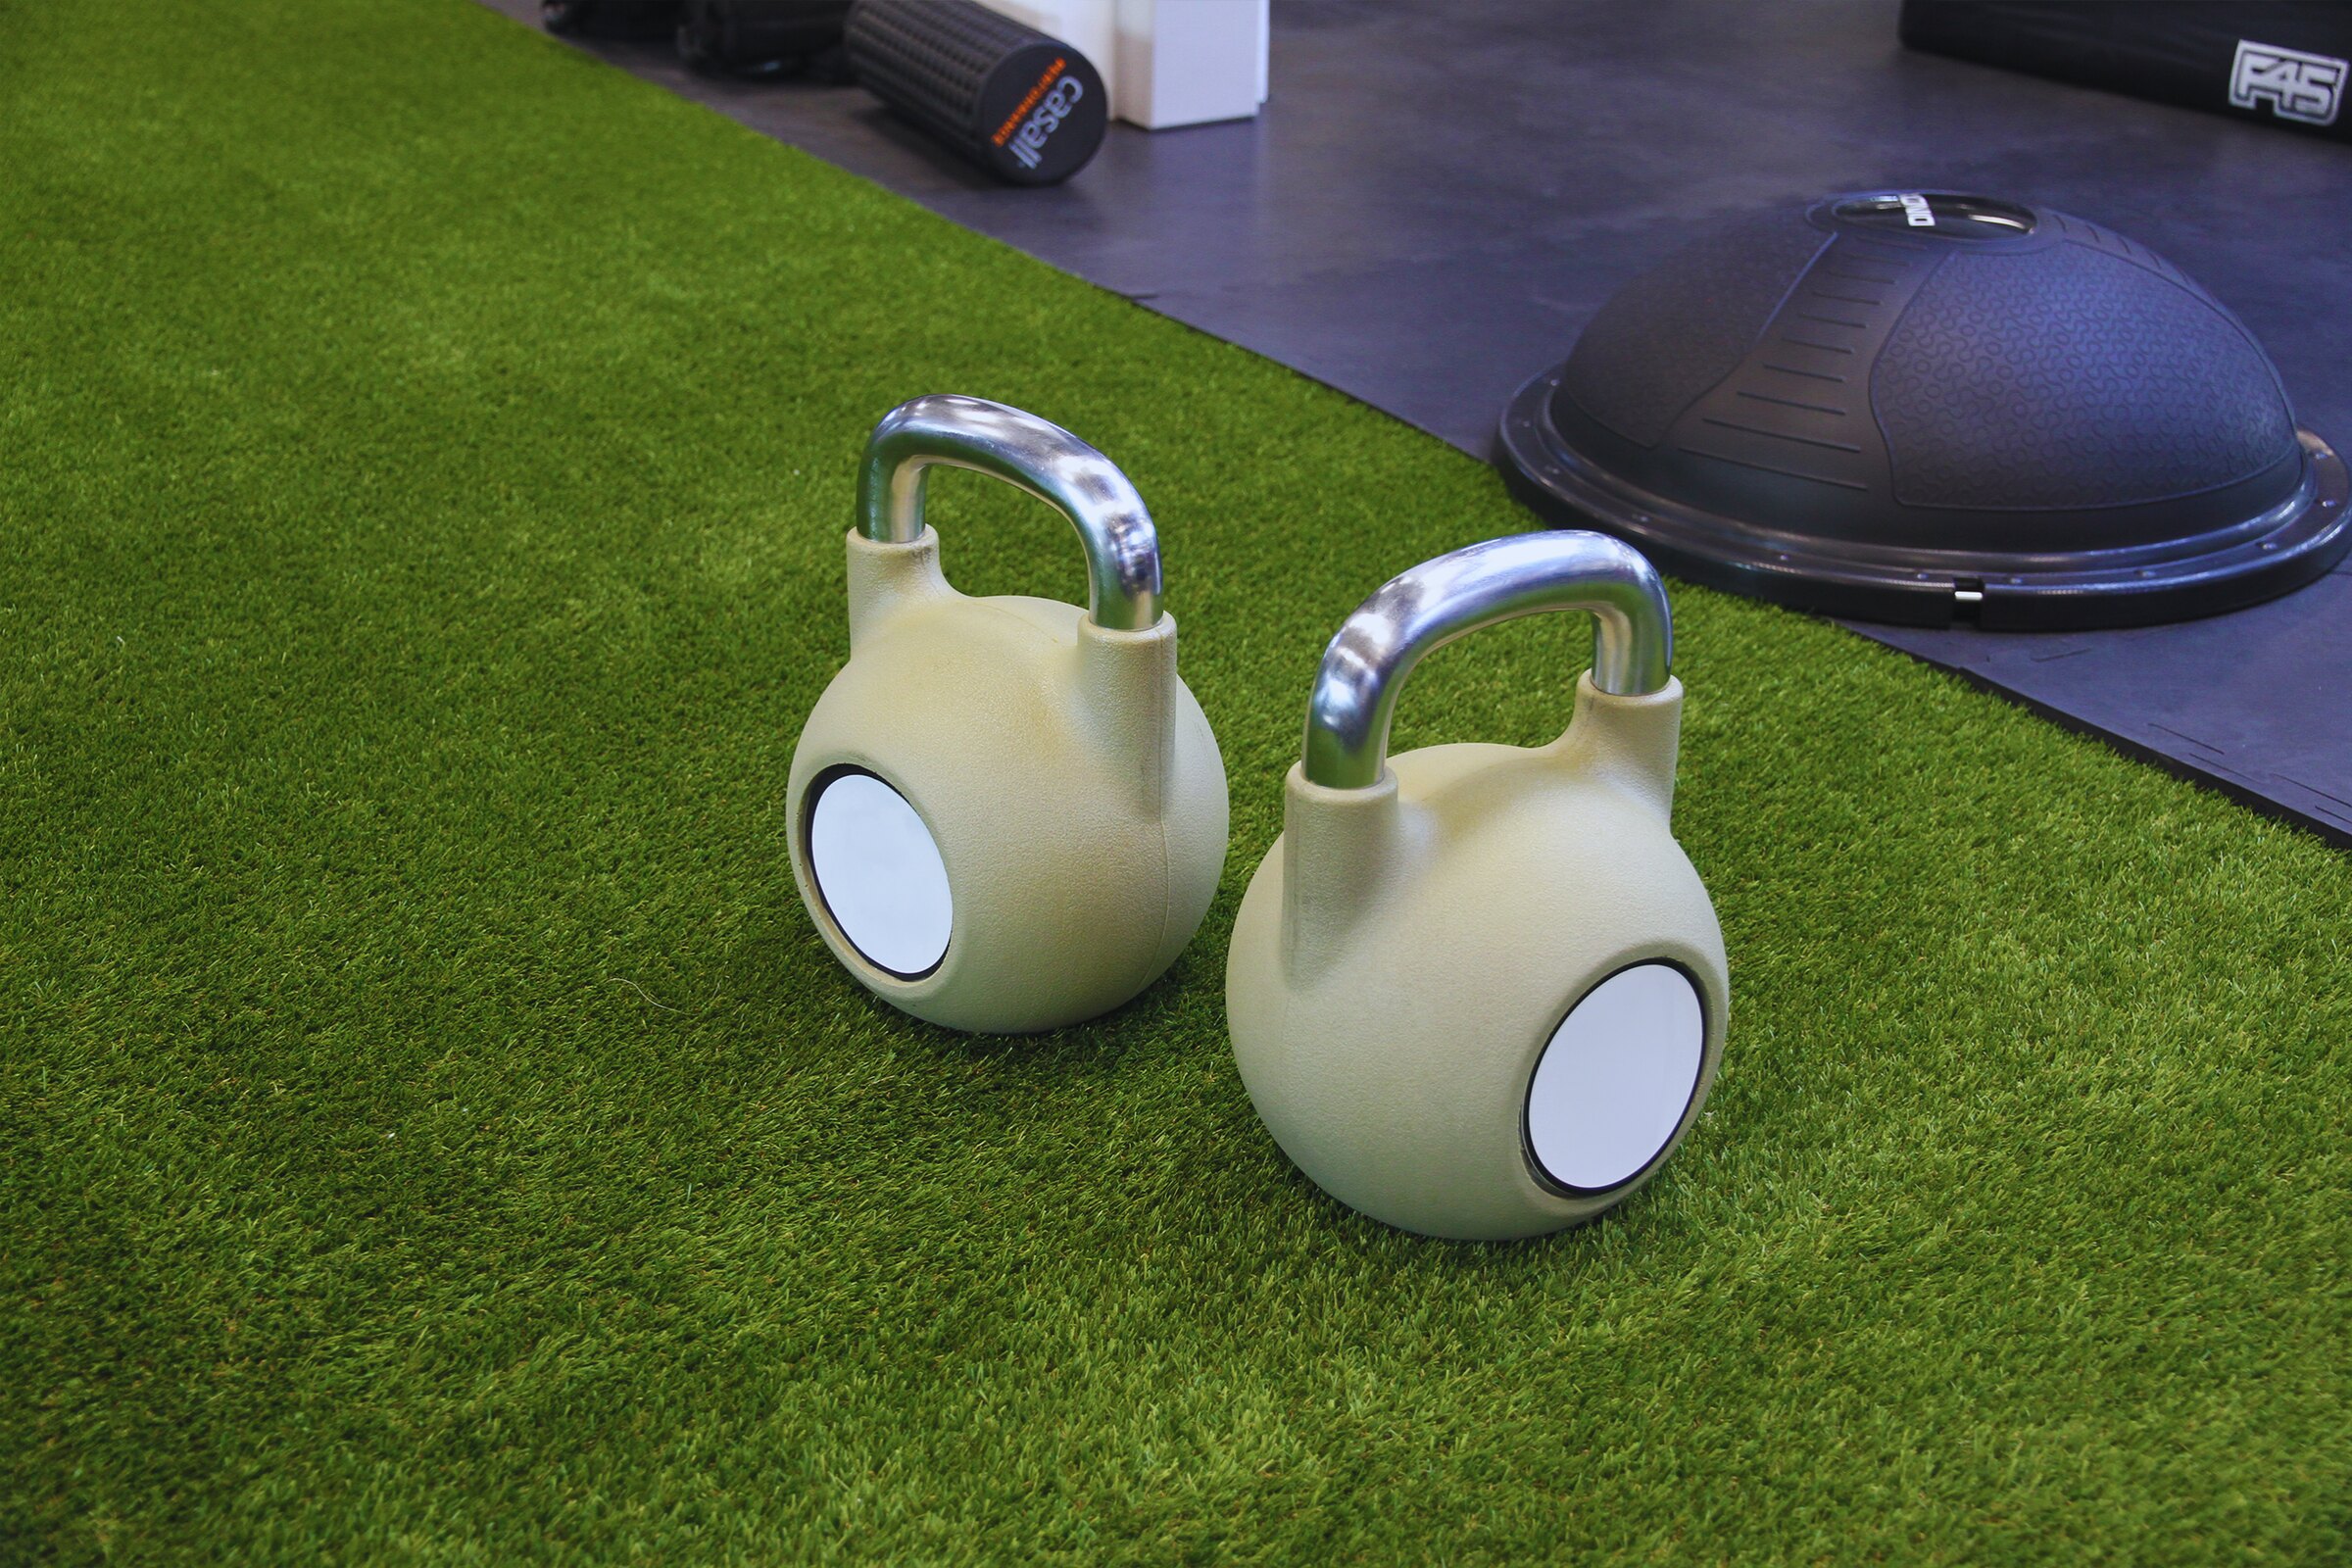
- The Suitcase Carry: Carrying a single heavy dumbbell or kettlebell on one side forces the opposite-side quadratus lumborum and internal obliques to contract with tremendous force to prevent lateral trunk flexion. This builds unrivaled anti-lateral flexion strength that carries over directly to heavy squats.
- The Farmer's Walk: Carrying heavy loads in both hands trains total-body postural endurance, scapular depression, and grip strength.
For a comprehensive training breakdown of implement selection, distance protocols, and grip conditioning, explore our dedicated loaded carries guide.
Concentric-Dominant Sled Pushes and Drags
Pushing and pulling a weighted sled provides massive metabolic conditioning with virtually zero spinal shear or eccentric muscle damage. Because there is no eccentric lowering phase, sled work allows you to accumulate high training volumes and elevate cardiovascular work capacity without beating up your connective tissues or impairing recovery from heavy barbell days.
Complete Weekly Lower Back Durability & Priming Program
To integrate these principles into your current lifting split, utilize the following structured weekly protocol. Perform the pre-lift priming sequence prior to your heavy squat and deadlift workouts, and complete the dedicated durability circuit on your off days or immediately following lower-body training.
| Component | Movement | Sets & Reps | Rest | Key Objective |
|---|---|---|---|---|
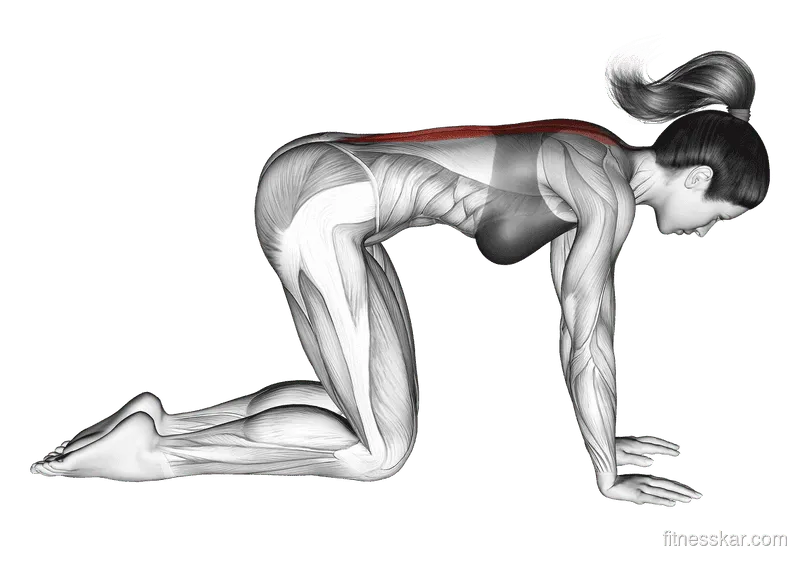
| Pre-Lift Priming | Cat Stretch | 2 sets × 8 gentle cycles | None | Mobilize thoracic spine and normalize neural glide without end-range forcing |
| Pre-Lift Priming | McGill Modified Curl-Up | 1 set × 5-3-1 (10s holds) | 30s | Activate anterior abdominal wall and pre-program isometric stiffness |
| Pre-Lift Priming | Side Plank | 1 set × 5-3-1 (10s holds) | 30s | Prime quadratus lumborum and lateral chain for anti-lateral flexion |
| Pre-Lift Priming | Bird Dog | 1 set × 5-3-1 (10s holds) | 30s | Awaken posterior cross-sling and eliminate spinal rotational wobble |
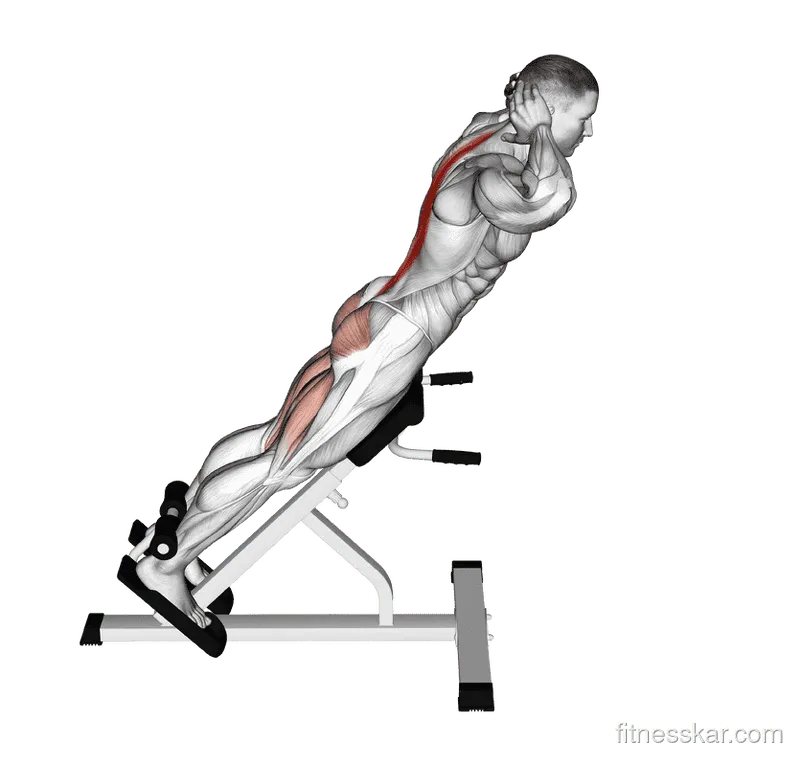
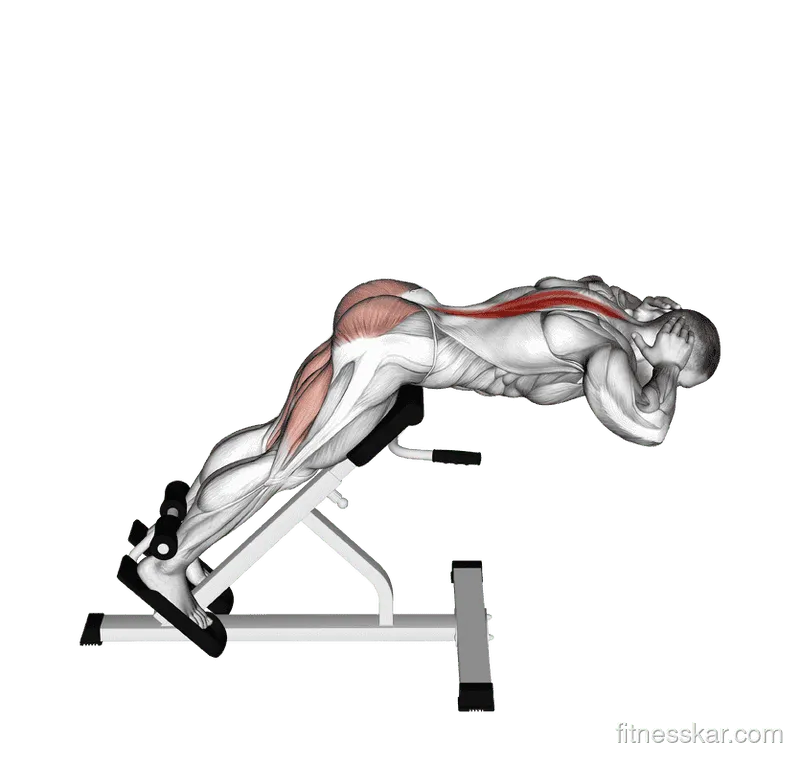
| Durability Circuit | Hyperextension | 3 sets × 12–15 reps | 60s | Build isometric erector endurance and active gluteus maximus hip drive |
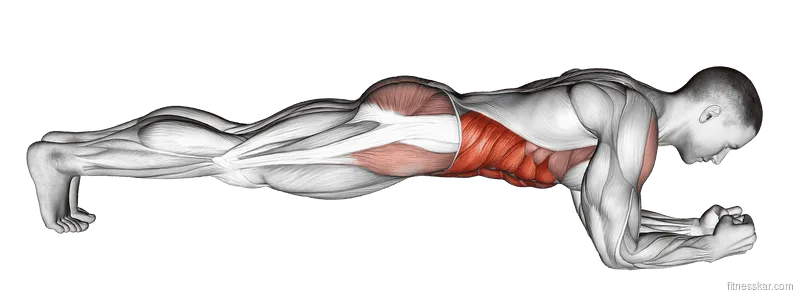
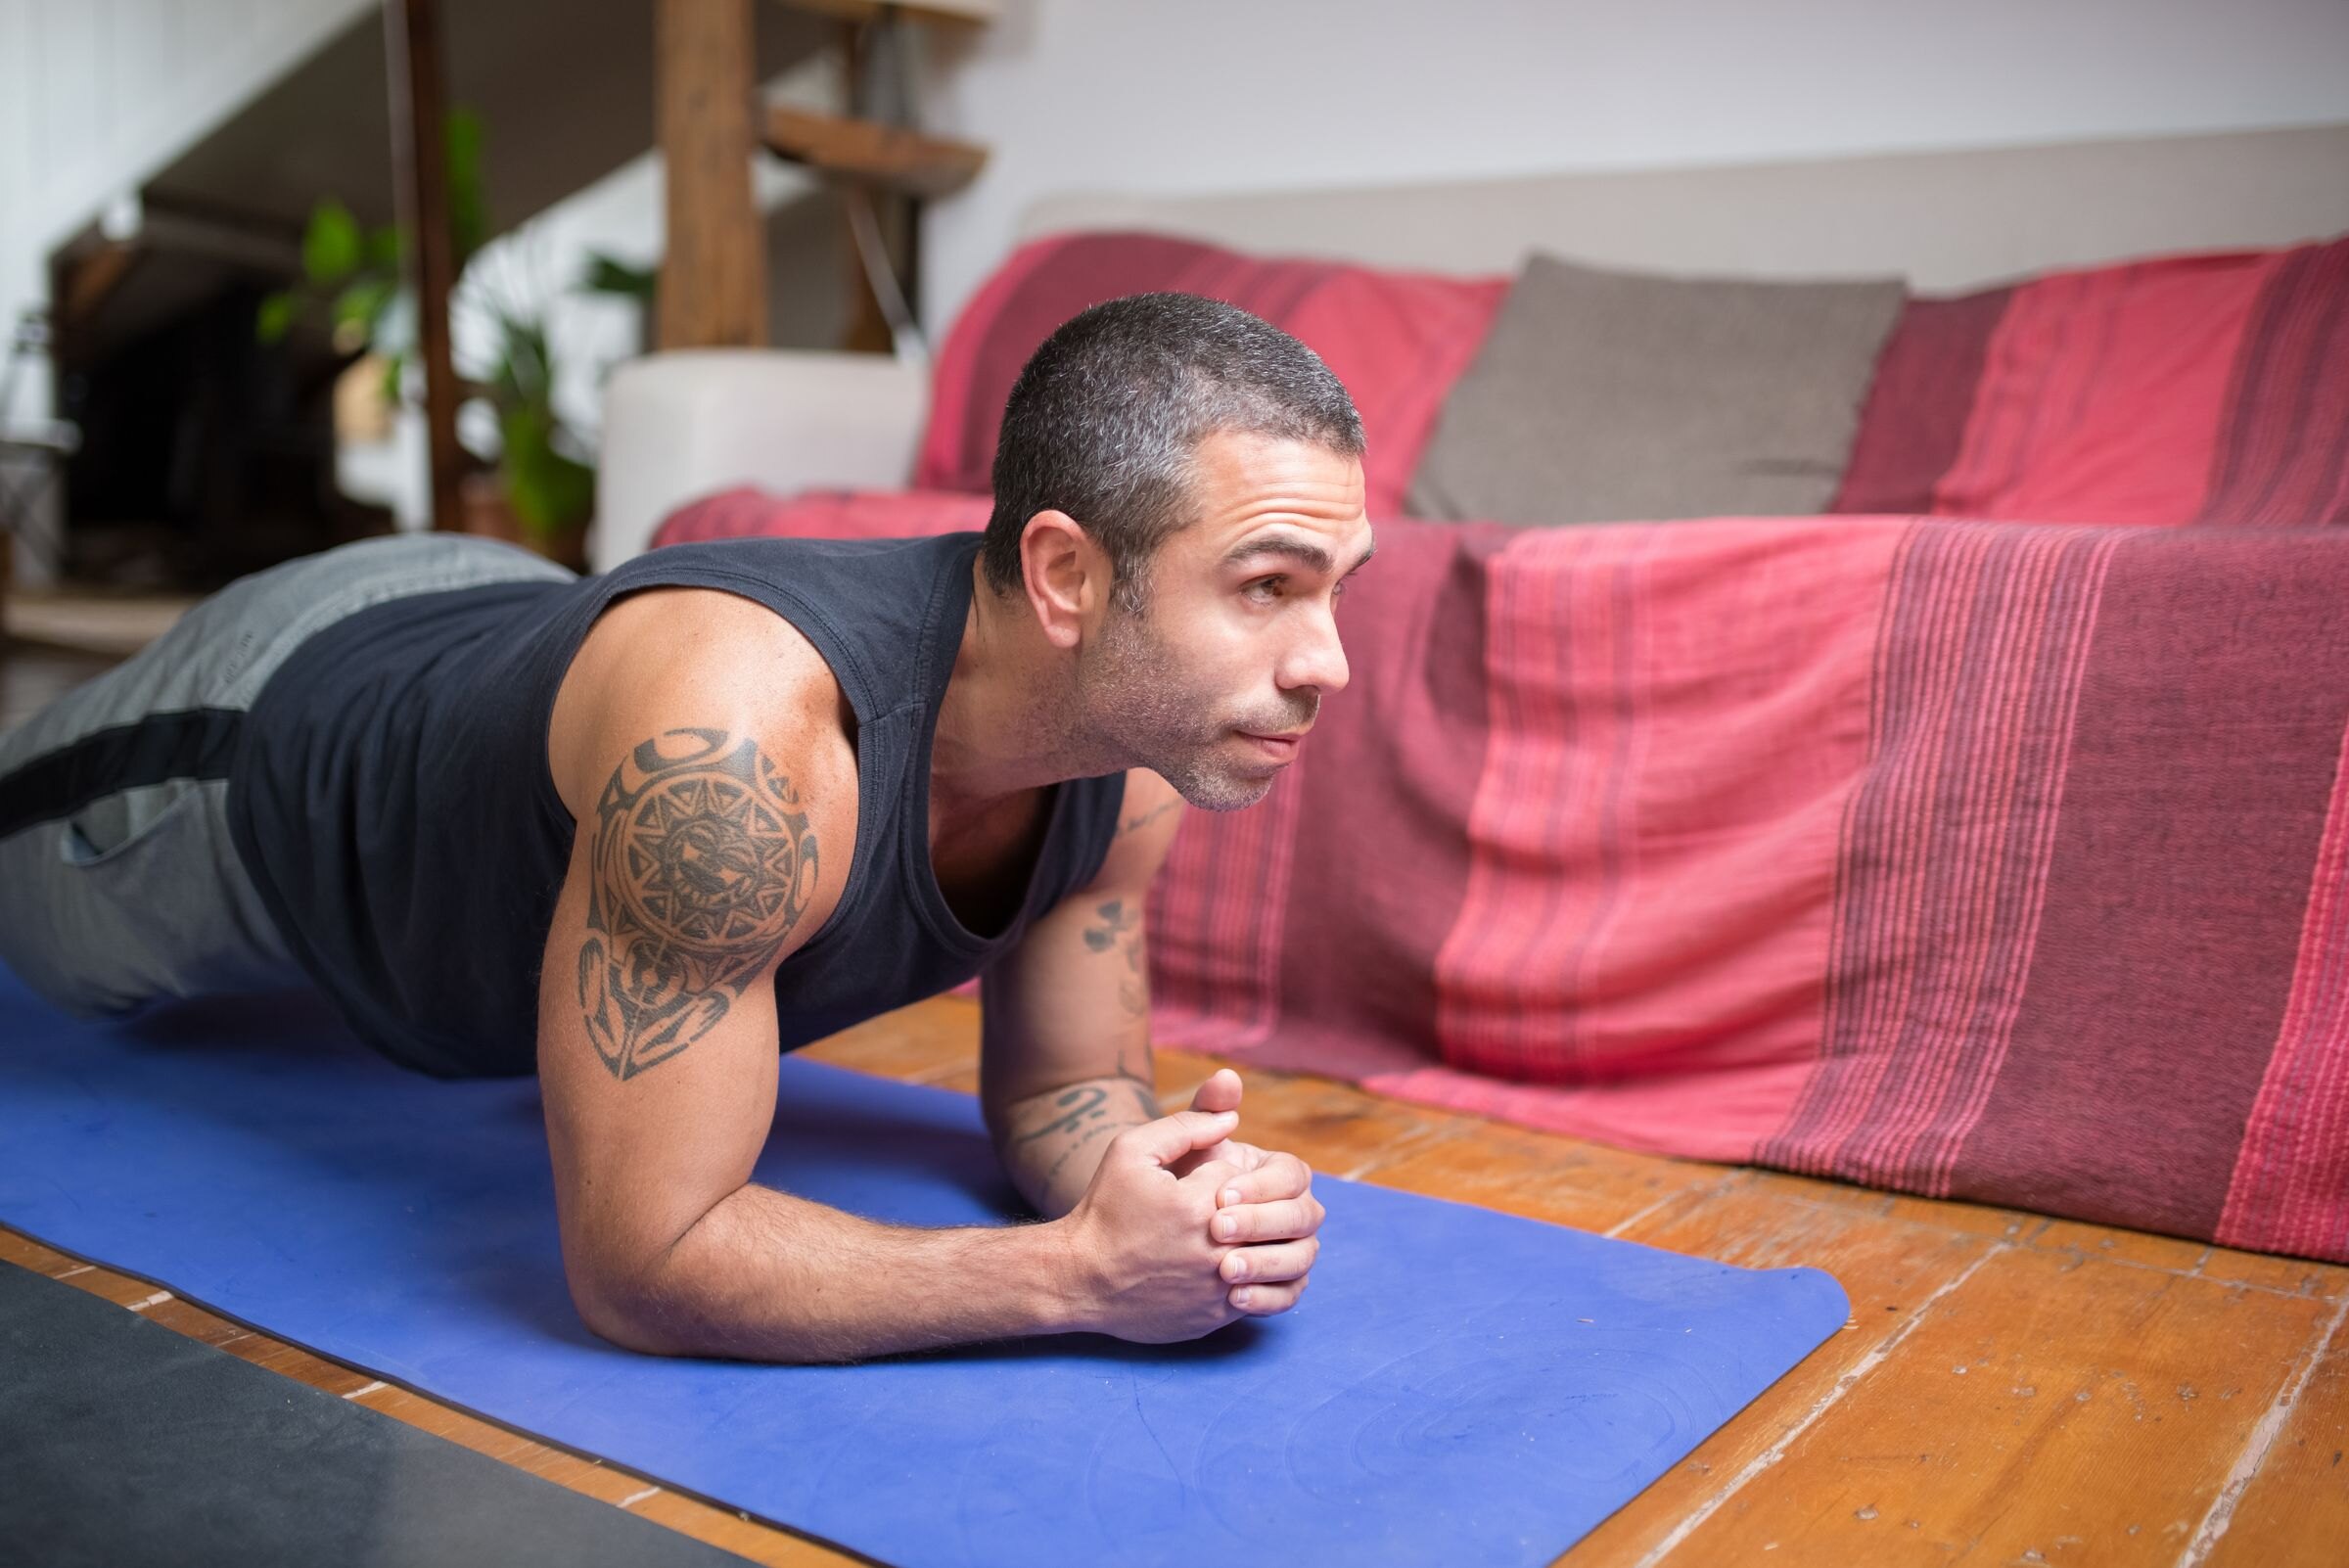
| Durability Circuit | Front Plank | 3 sets × 45–60 seconds | 60s | Reinforce anterior core endurance and resist lumbar hyperextension |
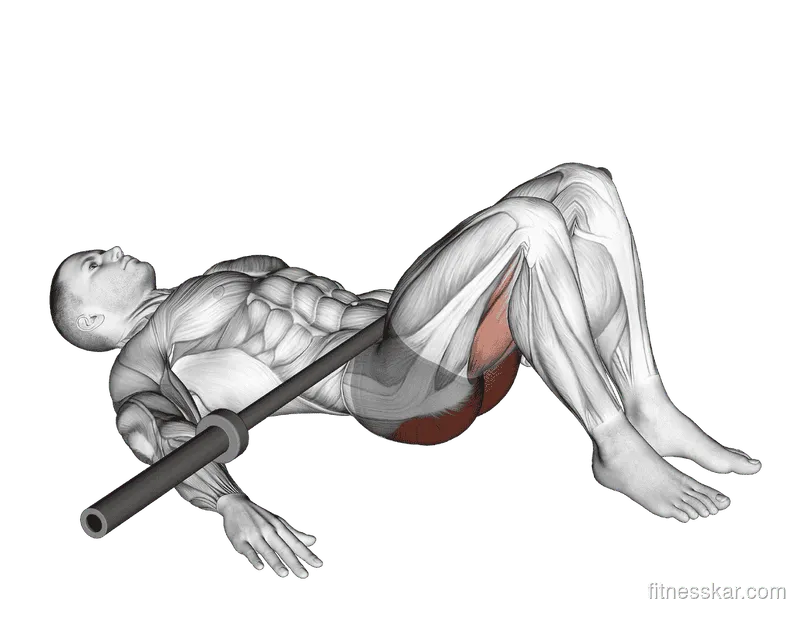
| Durability Circuit | Barbell Glute Bridge | 3 sets × 10–12 reps | 45s | Eliminate glute amnesia and level the pelvis across the horizontal plane |
| Functional Accessory | Cable Horizontal Pallof Press | 3 sets × 10 reps per side | 45s | Resist rotational torque and reinforce multi-planar abdominal stiffness |
To ensure that your overall training plan balances spinal recovery with progressive overload, pair your core work with structured programs such as our 6-Week Core Strength Builder. If you are looking for an all-encompassing, periodized routine that integrates joint longevity seamlessly with compound muscle growth, follow our proven 8-Week Full Body Fitness Builder.
Frequently Asked Questions
Frequently asked questions
Should I stretch my lower back when it feels tight after lifting?
No. Sensation of lower back tightness is frequently a protective muscular spasm triggered by spinal instability, not short muscles. Aggressively stretching into lumbar flexion pulls on irritated disc fibers and desensitizes protective nerve endings. Focus instead on hip mobility, glute activation, and gentle isometric bracing.
Are crunches and sit-ups safe if I perform them slowly?
Traditional sit-ups and crunches impose up to 3,300 Newtons of spinal compression while repeatedly bending the lumbar discs under load. Over time, this repetitive flexion can cause annular delamination and disc bulges. Isometric exercises like planks and the McGill Big Three provide superior core stiffness without disc wear.
How soon should I lift heavy after experiencing a lower back flare-up?
Avoid heavy spinal loading until acute pain subsides and you can maintain a pain-free neutral brace. Gradually reintroduce hip hinges using bodyweight glute bridges, light kettlebell deadlifts, and loaded carries before returning to heavy barbells. Always prioritize movement quality over load.
Does wearing a weightlifting belt weaken your lower back muscles?
No. EMG studies demonstrate that lifting belts do not diminish abdominal or erector spinae activation. A belt provides a tactile boundary for your abdominal wall to push against, accelerating intra-abdominal pressure and increasing spinal stiffness during heavy, near-maximal lifts.
Sources
- McGill SM. Core Training: Evidence Translating to Better Performance and Injury Prevention. Strength and Conditioning Journal. 2010;32(3):33-46. doi.org/10.1519/SSC.0b013e3181df4521 ↩