For decades, bodybuilding dogma dictated an unbreakable rule of gym lore: if you want to build maximum muscle, you must train exclusively within the "hypertrophy zone" of 8 to 12 repetitions per set. Anything below 6 reps was dismissed as pure powerlifting strength, while anything above 15 reps was written off as light muscular endurance that merely burned calories without stimulating growth.
Modern exercise physiology has thoroughly dismantled this rigid dogma. Landmark scientific research reveals that human skeletal muscle grows with remarkable similarity across a wide continuum of loading zones—from heavy sets of 6 reps all the way up to grueling, high-repetition sets of 30 or more—provided each set is performed with sufficient proximity to muscular failure.[1]
However, just because multiple rep ranges can stimulate muscle protein synthesis does not mean they are interchangeable in practice. Training with 5 reps exerts vastly different demands on your central nervous system, joints, and connective tissues than grinding through a 25-rep set of squats. To maximize muscular development while keeping recovery manageable and joints resilient, you need an evidence-based roadmap.
Here is the definitive scientific guide to understanding rep ranges for muscle growth, how mechanical tension governs hypertrophy across different loads, and how to intelligently structure your workouts for maximum gains.
The Fall of the Rigid "Hypertrophy Zone"
The traditional belief in the 8–12 rep range originated in mid-twentieth-century bodybuilding circles and was subsequently codified in early athletic training manuals. The prevailing logic claimed that heavy weights built myofibrillar density without sarcoplasmic expansion, while light weights only improved capillary beds and mitochondrial enzymes.
This model assumed that muscle fibers could only detect the external load on the barbell. In reality, your muscle fibers do not possess eyes; they cannot see the numbers stamped on iron plates. Individual muscle myocytes respond exclusively to intracellular mechanical tension—the physical force applied across their mechanosensitive cell membranes.
Whether that mechanical tension is generated by lifting an 85% 1RM load for 5 explosive reps or by grinding out 25 reps with a 45% 1RM load until the muscle is burning and struggling to contract, the active muscle fibers experience comparable levels of mechanical tension in the final repetitions before failure.
What the Landmark Clinical Research Proves
The paradigm shift in modern hypertrophy science culminated in a definitive systematic review and meta-analysis led by Dr. Brad Schoenfeld and published in the Journal of Strength and Conditioning Research.[1]
The researchers analyzed every randomized controlled trial comparing high-load resistance training (>60% of 1RM, typically 6 to 12 reps) against low-load resistance training (≤60% of 1RM, typically 15 to 30+ reps) in trained and untrained individuals where both protocols were performed to voluntary muscular failure.
However, the meta-analysis noted one crucial physiological divergence: maximal strength adaptations. While muscle growth was identical between conditions, high-load training produced significantly superior gains in 1RM strength ($p < 0.0001$).[1]
This disparity highlights a foundational exercise principle: muscle size is a morphological adaptation governed by mechanical tension and volume, whereas maximal strength is heavily governed by neurological adaptations (motor unit synchronization, rate coding, and neuromuscular coordination under heavy axial loads). If your goal is both size and raw strength, heavy lifting remains non-negotiable; if your goal is purely aesthetic muscle hypertrophy, you have tremendous flexibility in your rep selection.
The 30 Percent 1RM Biological Threshold
Can you simply grab a 2-pound pink dumbbell, do 100 reps, and expect your arms to grow? No.
Exercise physiology trials have determined that the minimum effective load required to stimulate robust hypertrophy sits at approximately 30 percent of your 1RM.[1] Loads below 30% 1RM fail to trigger adequate muscle growth for two clear physiological reasons:
- Premature Metabolic Exhaustion: At extremely light loads, systemic cardiovascular fatigue, local intramuscular acidity, and psychological discomfort cause you to terminate the set long before your motor units reach full recruitment.
- Insufficient Cross-Bridge Tension: The force exerted by individual actin-myosin cross-bridges under sub-30% loads is insufficient to activate the mechanotransductive signaling cascade required to upregulate mTORC1.
As long as your working weight exceeds approximately 30% of your 1RM and you take the set within striking distance of momentary muscular failure, you will stimulate muscle growth.

The Three Loading Zones: Breakdown, Pros, and Cons
To design an effective workout split, we can divide the repetition continuum into three distinct operational loading zones:
| Loading Zone | Rep Range | Intensity (% 1RM) | Primary Physiological Driver | Joint & Connective Stress | Systemic Fatigue Cost |
|---|---|---|---|---|---|
| Heavy (Low Reps) | 1–5 reps | 80–90%+ 1RM | High external tension & neural drive | High (shear force on tendons/joints) | High (CNS & spinal compression) |
| Moderate (Medium Reps) | 6–12 reps | 65–80% 1RM | Balanced tension & metabolic fatigue | Low-to-Moderate | Moderate (optimal efficiency) |
| Light (High Reps) | 15–30+ reps | 30–60% 1RM | Metabolic stress & cellular swelling | Very Low (joint-friendly) | High (cardiovascular & psychological) |
1. The Heavy Zone (1 to 5 Repetitions)
Heavy training involves loads exceeding 80–85% of your 1RM. In this zone, Henneman’s size principle dictates that your central nervous system must immediately recruit high-threshold Type II motor units from the very first repetition to produce the required force.
The Advantages:
- Maximal Neuromuscular Strength: Dramatically improves central drive, tendon stiffness, and the ability to express force against heavy loads.
- Immediate High-Threshold Recruitment: Zero "wasted" warm-up repetitions; every single repetition exerts maximum mechanical tension on fast-twitch fibers.
The Disadvantages:
- High Systemic and Joint Strain: Heavy spinal loading and articular compressive forces wear on the lower back, hips, knees, and shoulders over prolonged periods.
- Low Hypertrophic Efficiency: Performing 10 weekly sets of 3 reps requires extensive warm-ups and 3 to 5 minutes of rest between sets, making volume accumulation sluggish and time-consuming.
2. The Moderate Zone (6 to 12 Repetitions)
The traditional 6–12 rep range remains the cornerstone of modern bodybuilding for good reason: it is the undisputed king of hypertrophic efficiency.
The Advantages:
- The Golden Ratio of Tension and Fatigue: Loads between 65% and 80% 1RM are heavy enough to recruit high-threshold motor units within the first few reps, yet light enough to avoid traumatic articular strain.
- Rapid Volume Accumulation: You can perform multiple demanding working sets with 90 to 150 seconds of rest, allowing you to hit your optimal weekly volume targets without spending three hours in the gym. For a detailed breakdown of weekly volume parameters, read our comprehensive guide on sets per muscle per week.
- Manageable Perception of Effort: Sets are long enough to provide a profound muscle pump without degenerating into an aerobic panting match.
The Disadvantages:
- If relied upon exclusively, lifters may miss out on the specific connective tissue density adaptations of heavy loading and the cellular swelling benefits of high-rep pump work.
3. The Light Zone (15 to 30+ Repetitions)
Lifting lighter weights (30% to 60% 1RM) for high repetitions requires a high level of mental fortitude. As slow-twitch Type I fibers fatigue over the course of 15 to 25 reps, your nervous system is forced to sequentially recruit larger Type II fibers to keep the weight moving until near-failure is achieved.
The Advantages:
- Joint-Sparing Stimulation: Because absolute loading is low, shear forces across joints and tendons are minimized. This makes high-rep sets ideal for lifters recovering from joint irritation or managing osteoarthritis.
- Profound Metabolic Stress and Hyperemia: Prolonged contractions occlude venous outflow, trapping blood within the muscle. This cellular swelling triggers an intracellular pressure gradient that stretches the cell membrane, signaling an anabolic cascade.
- Type I Fiber Hypertrophy: Emerging research suggests higher-repetition training may optimize the growth of fatigue-resistant slow-twitch muscle fibers, which are often under-stimulated by low-rep work.
The Disadvantages:
- Excruciating Cardiovascular and Mental Fatigue: Grinding through 25 reps of a compound lift triggers intense burning sensations caused by hydrogen ion ($H^+$) accumulation and central nervous system discomfort. Many lifters quit due to lung fatigue or burning rather than true muscular failure.
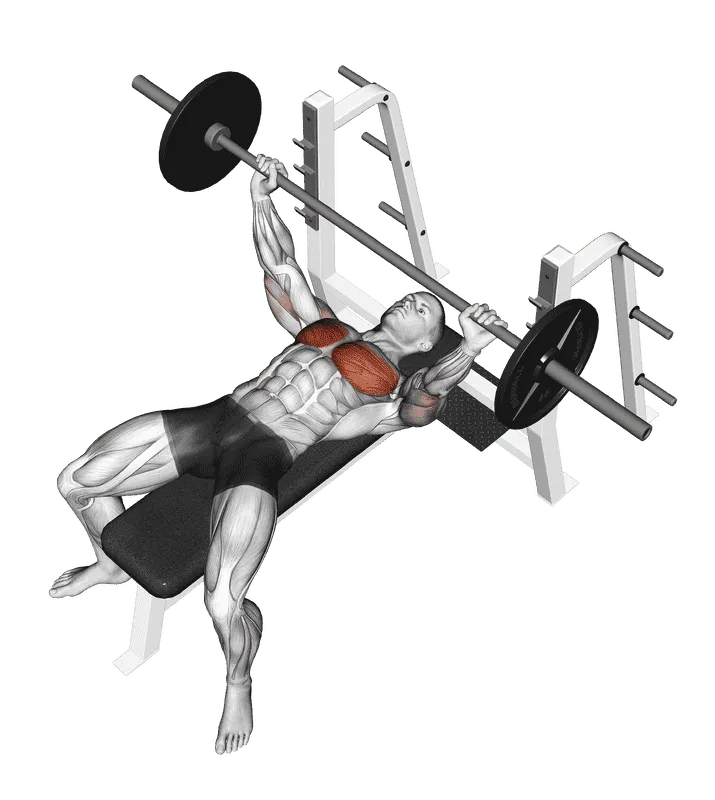
- Sets
- 3–4
- Reps
- 6–8
- Rest
- 150 s
- Tempo
- 3–1–0
Biomechanical Movement Matching: Choosing the Right Rep Range for the Right Exercise
The most common mistake lifters make when learning that "all rep ranges build muscle" is applying high reps to the wrong exercises, or low reps to movements ill-suited for heavy loading.
To maximize muscle growth and minimize injury risk, you must match the rep range to the biomechanical nature of the exercise:
1. Heavy Compound Barbell Lifts (5 to 8 Reps)
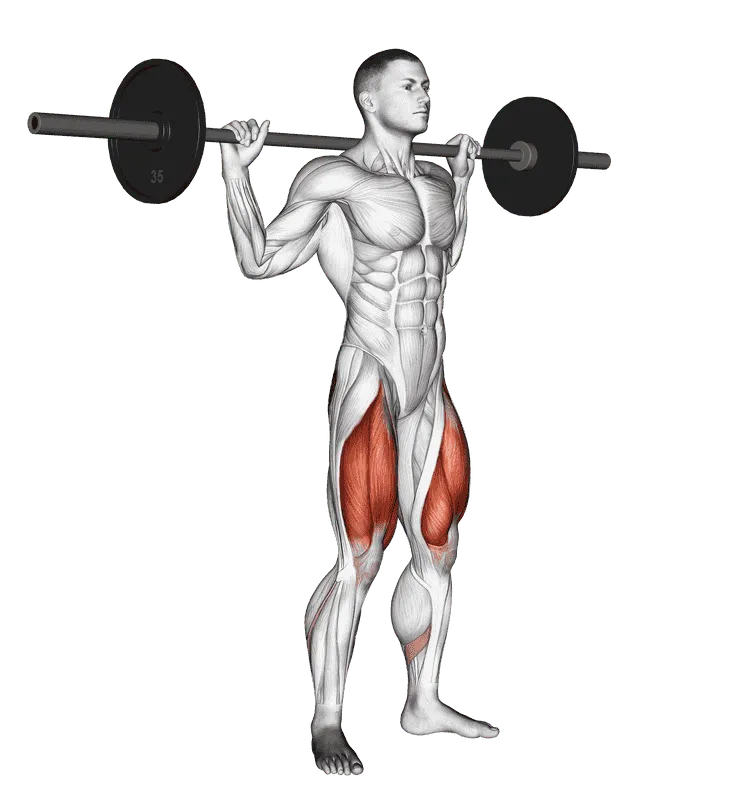
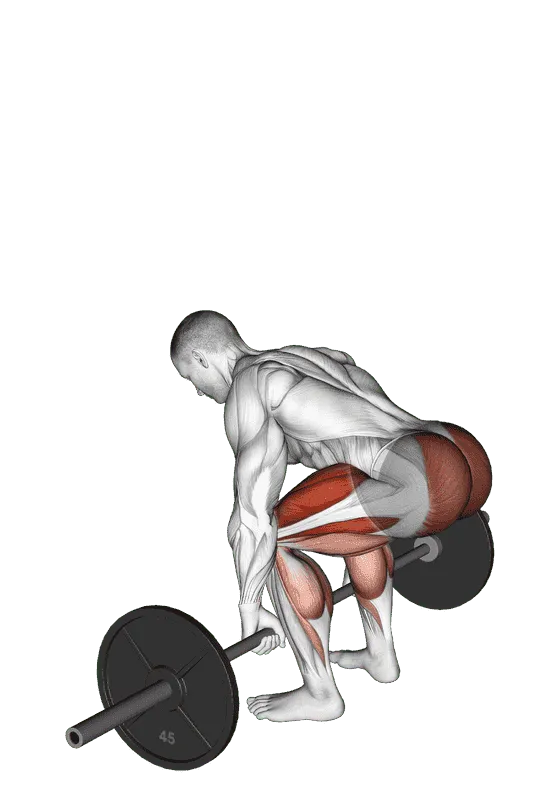
Movements such as the barbell bench press, barbell full squat, and barbell deadlift involve significant axial (spinal) loading and complex multi-joint coordination.
- Why Low-to-Moderate Reps Win: When you perform sets of 20 reps on squats or deadlifts, your erector spinae, diaphragm, and cardiovascular system will inevitably fatigue before your quadriceps or glutes reach mechanical failure. Your technique breaks down, your lower back rounds, and injury risk skyrockets.
- Target Prescription: 5 to 8 reps. This preserves structural integrity, minimizes technique degradation, and ensures the target musculature fails before your cardiovascular system does.
2. Multi-Joint Dumbbell and Cable Exercises (8 to 12 Reps)
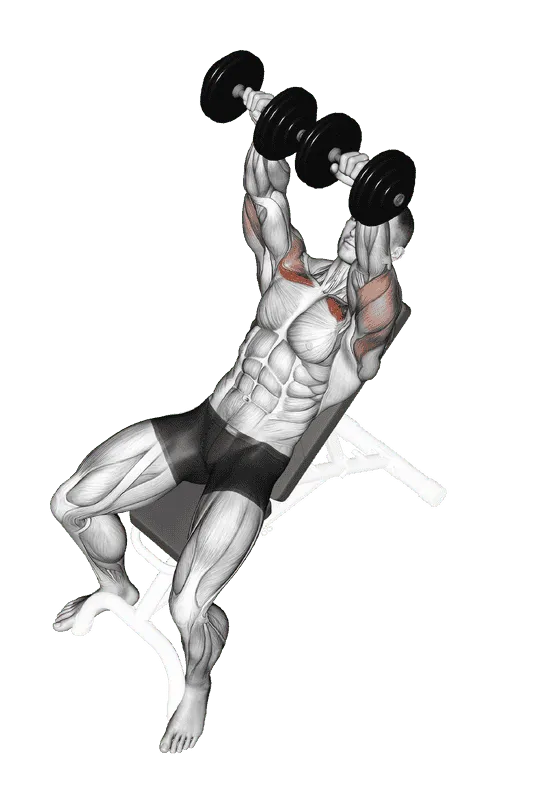
Exercises like the dumbbell incline bench press, dumbbell lunges, and cable rows provide independent limb movement and continuous tension throughout a deep stretch.
- Why Moderate Reps Win: Attempting a 3-rep maximum with heavy dumbbells is perilous: getting the weights into position stresses the rotator cuff, and dropping them risks joint injury. Conversely, 8 to 12 reps allows you to use a challenging load with complete eccentric control, exploring full range of motion. To understand why deep stretches amplify hypertrophy, check out our guide on stretch-mediated hypertrophy.
- Target Prescription: 8 to 12 reps with controlled 2-second eccentrics.
3. Isolation, Machine, and Cable Movements (12 to 25+ Reps)
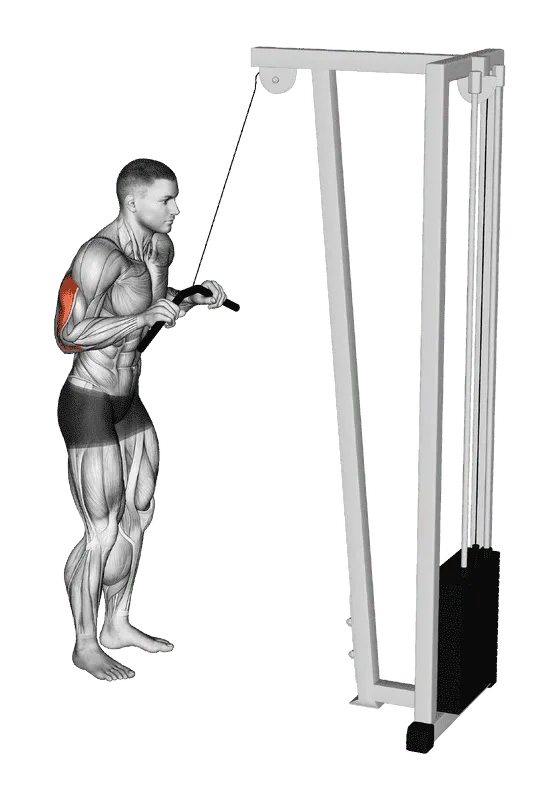
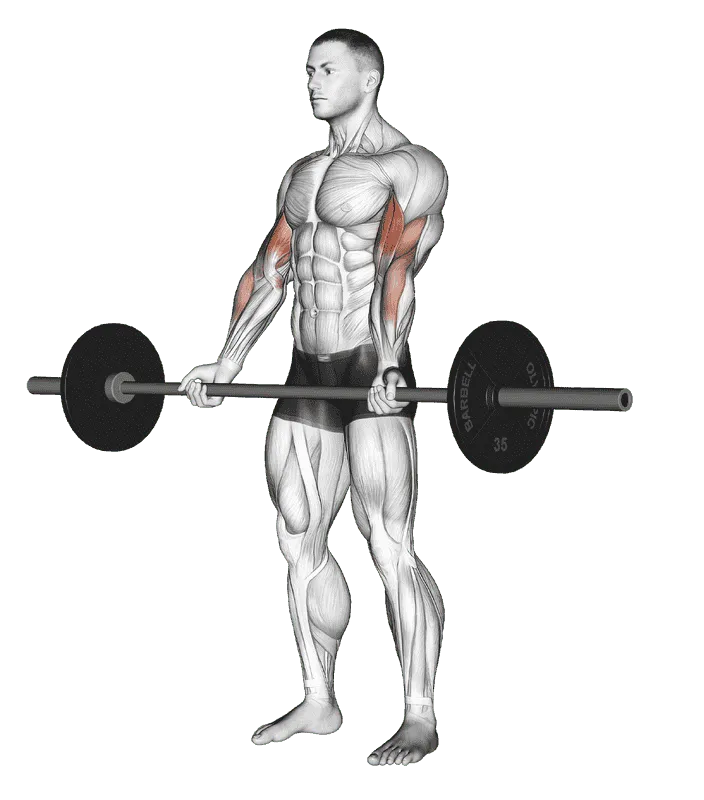
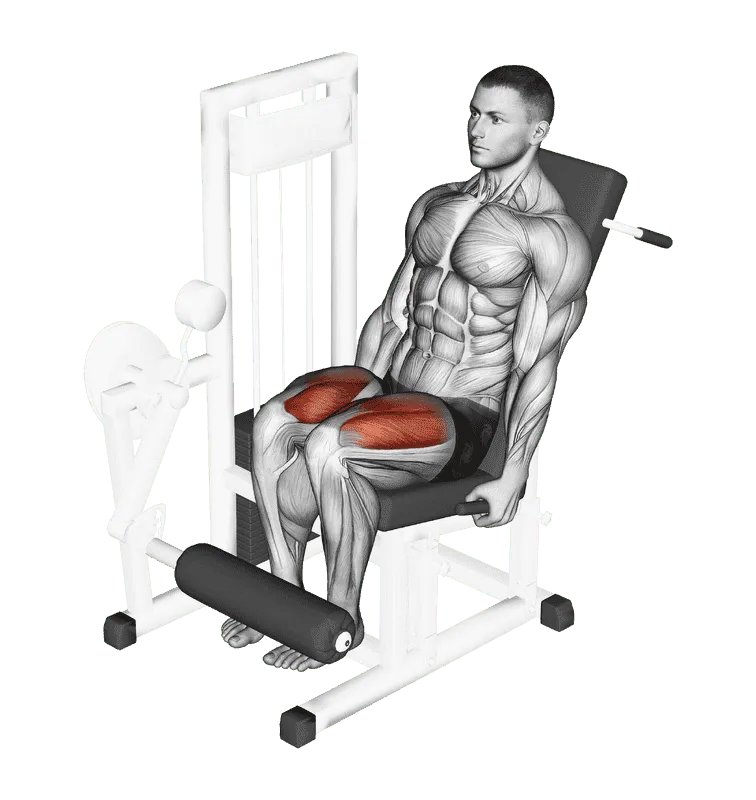
Single-joint isolation movements such as cable pushdown, barbell curl, and lever leg extension place tension exclusively across a single joint without loading the spine.
- Why High Reps Shine: Trying to perform heavy sets of 3 to 5 reps on leg extensions or triceps pushdowns places brutal shearing forces directly on the patellar and triceps tendons. In contrast, performing 12 to 20+ reps on these machines pumps huge volumes of blood into the target muscle, creates intense metabolic occlusion, and eliminates injury risk.
- Target Prescription: 12 to 20+ reps taken to complete concentric failure.
The Proximity to Failure Factor: Why Rep Ranges Change Effort Requirements
There is a vital catch to the science of rep ranges that many lifters overlook: as the repetitions increase, the necessity of training close to failure becomes far more critical.
This relationship is best understood through Henneman's Size Principle and the concept of effective reps:
If you perform a set of 25 reps with a light weight but terminate the set 5 reps before true muscular failure (5 RIR), you never recruited your high-threshold motor units. That set was essentially junk volume—it generated cardiovascular sweat without delivering the mechanical tension required to trigger muscle growth.
Therefore, if you choose to train in high rep ranges (15–30 reps), you must be willing to push deep into the pain cave, stopping no more than 0 to 1 rep shy of true failure. To master the art of gauging your proximity to failure, read our detailed coaching guide on training to failure and explore our analysis of sets per muscle per week.
Practical Programming: How to Periodize Rep Ranges Across the Week
Rather than choosing a single rep range and sticking to it dogmatically, the most effective physique athletes utilize a hybrid model that captures the unique physiological benefits of each loading zone.
By cycling through multiple rep ranges, you:
- Stimulate both Type I and Type II muscle fibers.
- Build functional 1RM strength on foundational compound movements while accumulating high metabolic volume on isolation exercises.
- Spare your joints from the wear-and-tear of continuous heavy axial loading.
The Multi-Zone Hypertrophy Framework
The simplest and most productive way to organize your rep ranges within a single workout is the Reverse Pyramid Hierarchy:
- Tier 1: Heavy Foundation (1 Exercise): 3–4 sets of 5–8 reps on your primary compound barbell movement. Rest 2–3 minutes between sets. (Focus: Maximal mechanical tension and raw strength).
- Tier 2: Hypertrophy Engine (2 Exercises): 3–4 sets of 8–12 reps on dumbbell or cable multi-joint movements. Rest 90–120 seconds between sets. (Focus: High volume, continuous tension, deep stretch).
- Tier 3: Metabolic Finishers (1–2 Exercises): 2–3 sets of 15–25 reps on machine or cable isolation movements. Rest 60–75 seconds between sets. (Focus: Cellular swelling, metabolic stress, and peak pump).
To put this periodization strategy into action with a proven blueprint, explore our intermediate training framework:
Sample Upper-Body Hypertrophy Workout
Here is how this multi-zone rep framework looks in practice for an upper-body session:
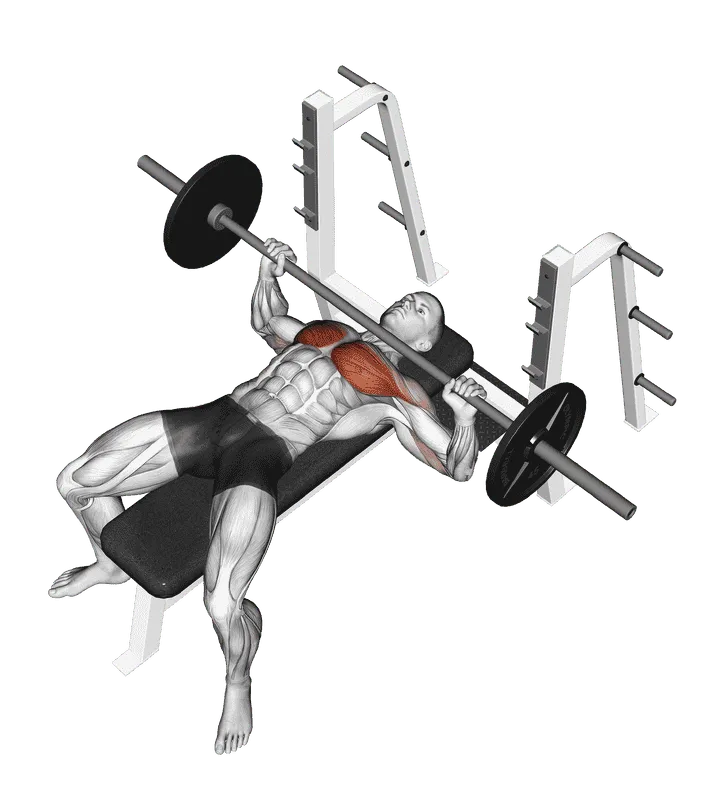
- Movement 1: Barbell Bench Press — 4 sets of 6 reps (Heavy Zone: 80% 1RM, 2.5 minutes rest).
- Movement 2: Dumbbell Incline Bench Press — 3 sets of 10 reps (Moderate Zone: 70% 1RM, 90 seconds rest).
- Movement 3: Cable Pushdown — 3 sets of 15 reps (Light Zone: 55% 1RM, 60 seconds rest).
- Movement 4: Barbell Curl — 3 sets of 12 reps (Moderate Zone: 65% 1RM, 75 seconds rest).
By applying progressive overload across each of these movements—gradually adding weight or reps over successive weeks—you establish an undeniable stimulus for muscle growth. For a complete understanding of progressive overload principles, read our foundational guide on progressive overload and explore our analysis of strength vs. hypertrophy.
Frequently Asked Questions
Frequently asked questions
Is the traditional 8 to 12 rep range completely obsolete?
No. While we now know that 6 to 30 reps build equal muscle when taken near failure, the 8 to 12 rep range remains the most practical and time-efficient loading zone for accumulating weekly volume without excessive joint strain or extreme cardiovascular fatigue.
Can I build muscle with bodyweight exercises using 20 to 30 reps?
Yes. As long as the resistance equals at least 30 percent of your 1RM and you push within 1 to 2 reps of failure, bodyweight movements like push-ups and inverted rows stimulate identical muscle growth to heavy gym machines.
Should I train smaller muscles like biceps, calves, and lateral delts with higher reps?
Yes. Smaller muscles that cross delicate joints (like the elbows and shoulders) tolerate high repetitions (12 to 20+ reps) exceptionally well, allowing you to maximize localized metabolic stress and muscle pumps without irritating tendons.
Do high reps burn more fat to help me "tone" or "cut"?
No. Spot reduction is a physiological myth. High reps do not carve out definition or burn fat in the muscle being worked. Fat loss is governed by a sustained caloric deficit, while rep ranges dictate muscular tension and strength adaptations.
Sources
- Schoenfeld BJ, Grgic J, Ogborn D, Krieger JW. Strength and Hypertrophy Adaptations Between Low- vs. High-Load Resistance Training: A Systematic Review and Meta-Analysis. Journal of Strength and Conditioning Research. 2017. doi.org/10.1519/JSC.0000000000002200 ↩