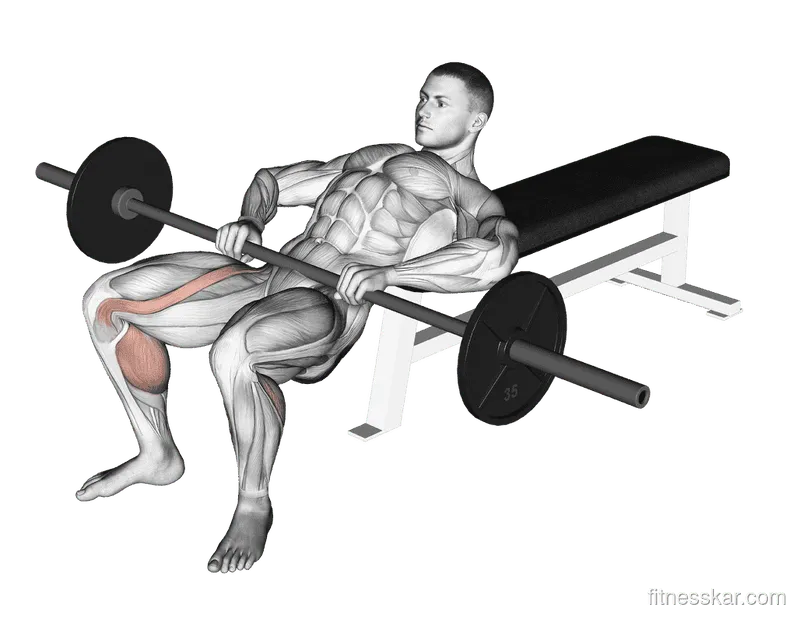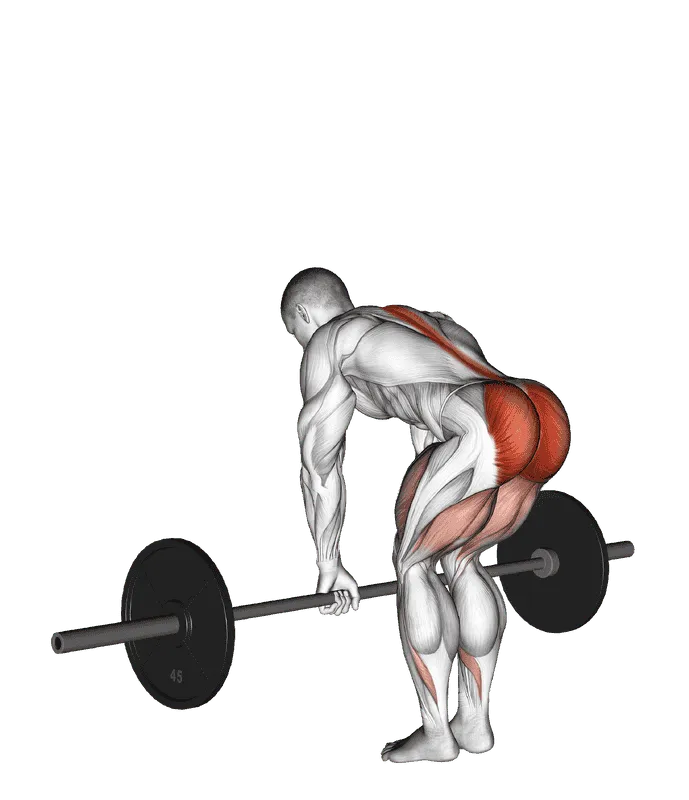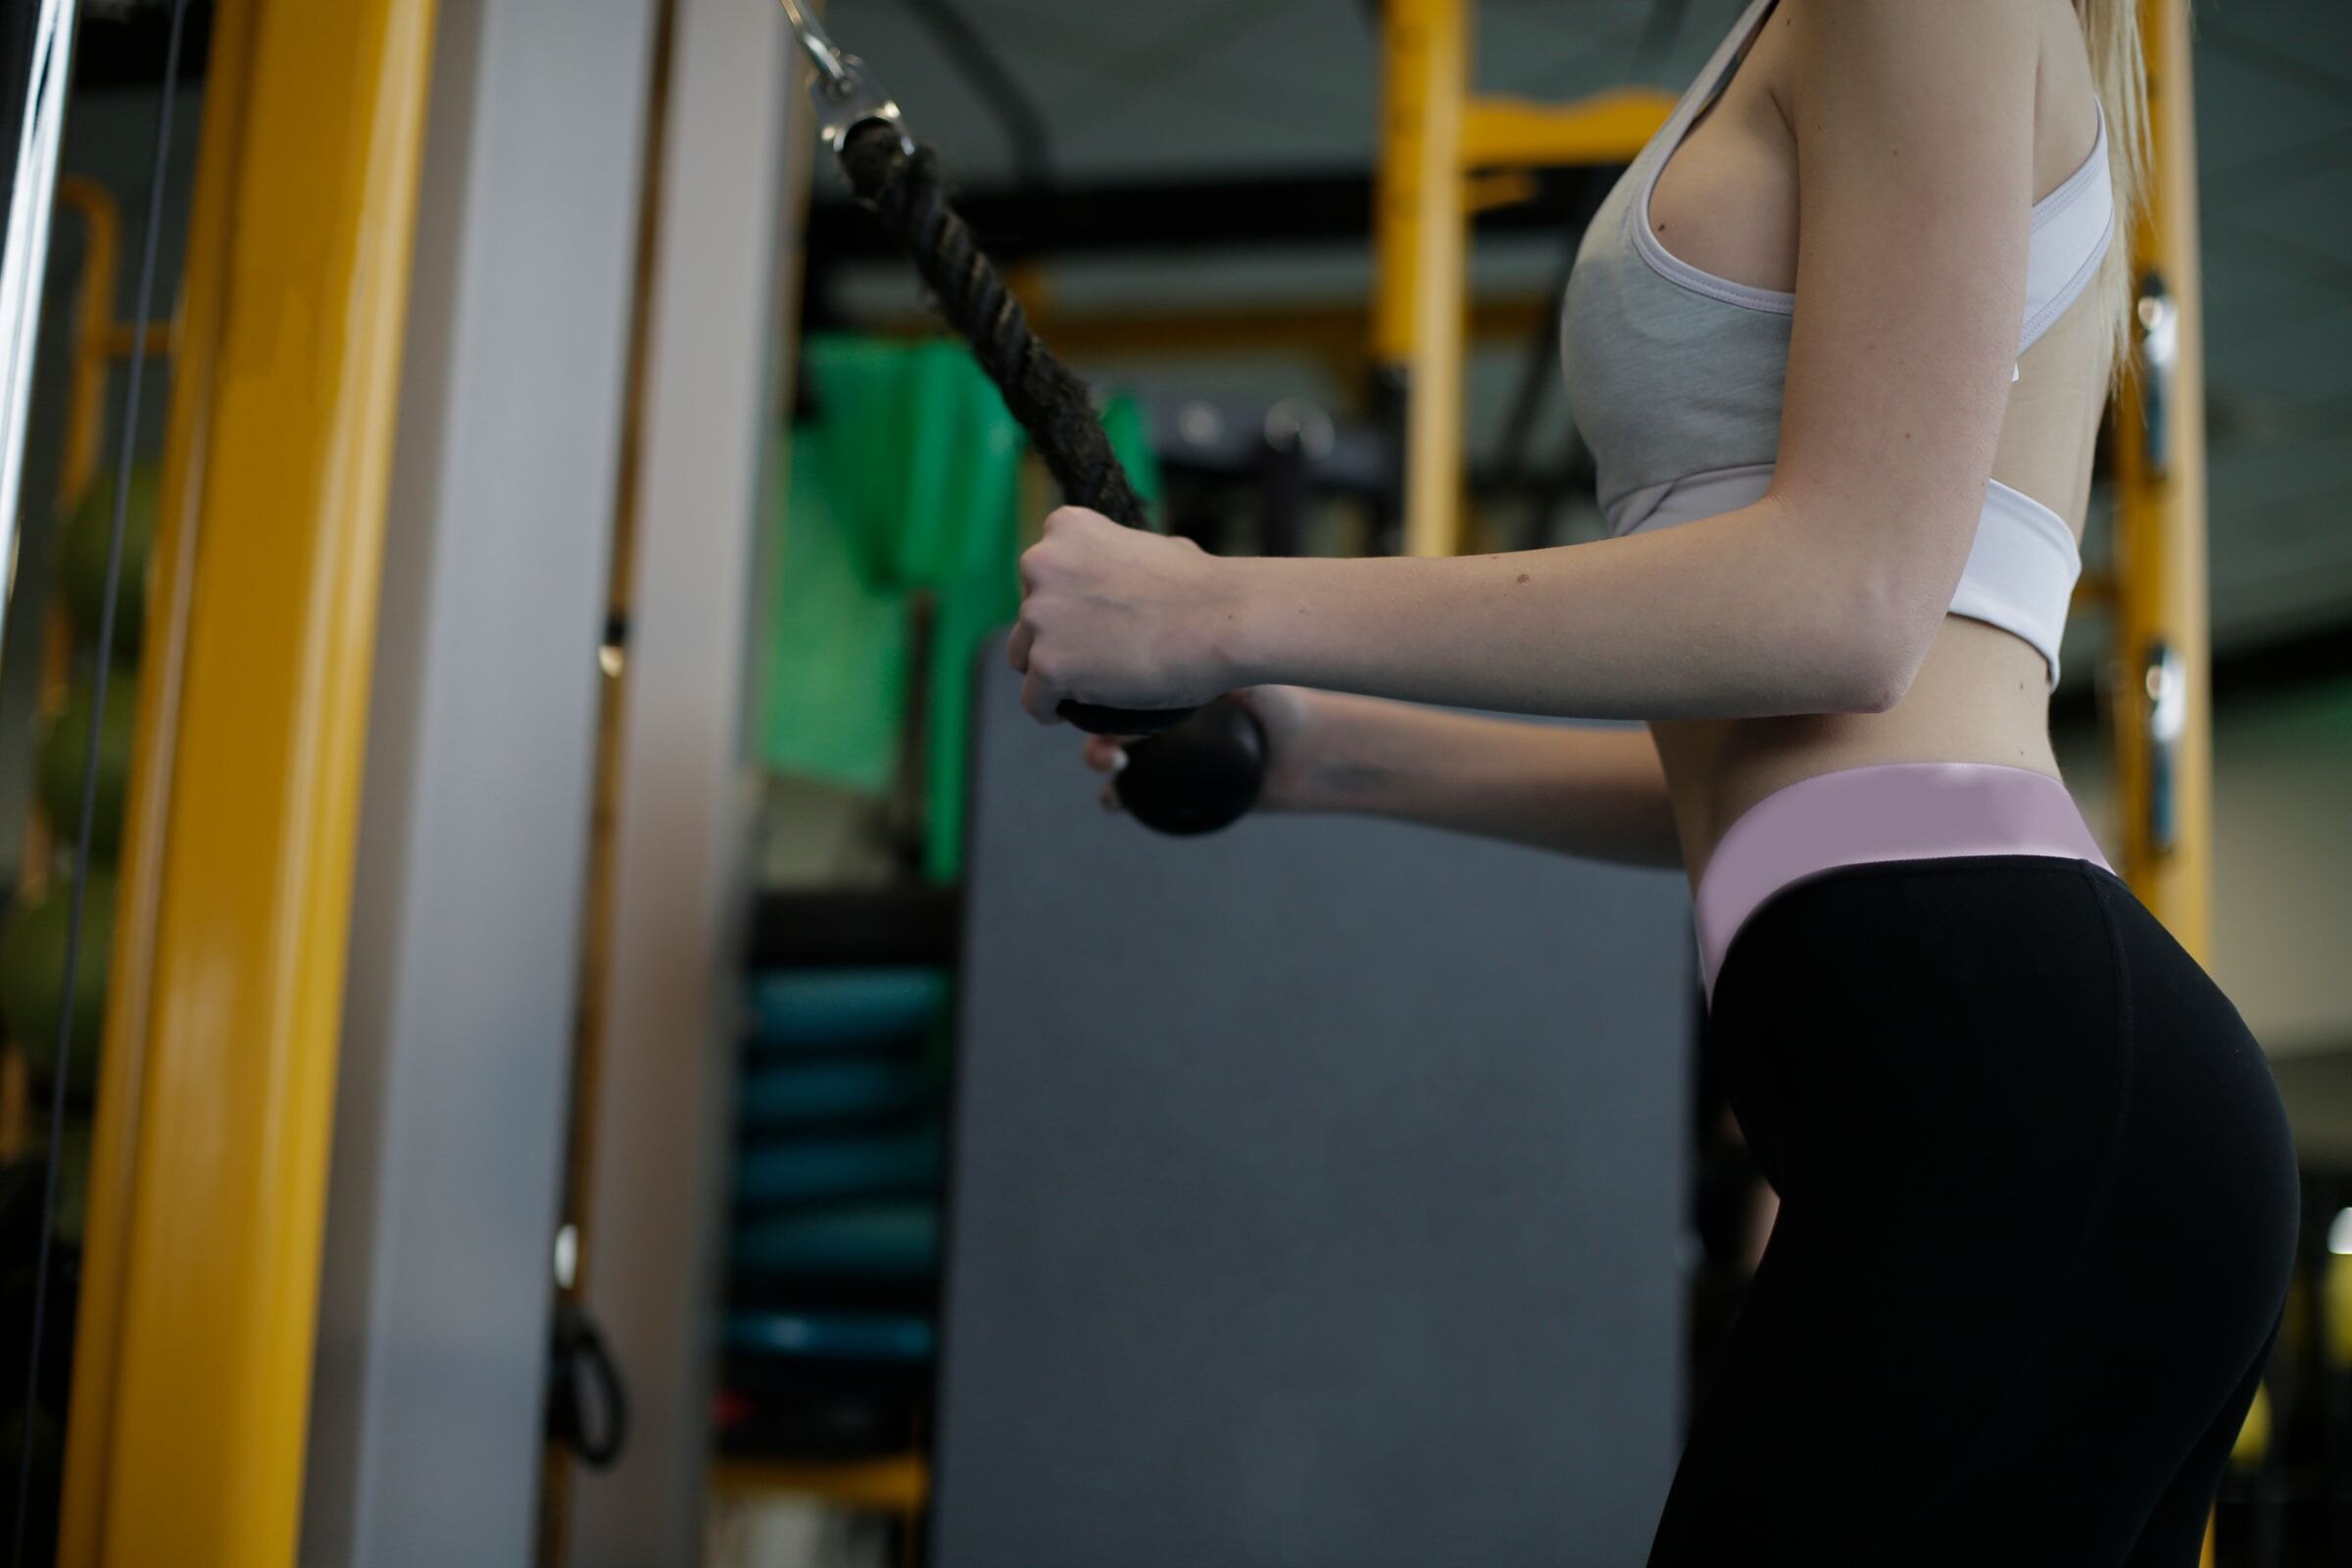
The cable glute kickback is one of the most effective isolation exercises for building full, strong, and well-developed glutes. While compound staples like barbell squats and Romanian deadlifts overload the gluteus maximus in its stretched, lengthened position, they suffer from a major biomechanical limitation: mechanical tension drops off significantly at the top of the movement. The cable kickback solves this limitation by providing continuous, directional resistance that peaks precisely at full hip extension—the exact point where the gluteus maximus fibers reach peak shortening and maximum voluntary contraction.
Yet, despite being a staple in glute-specialization routines, the cable kickback is also one of the most frequently misperformed movements in the gym. Lifters often kick straight backward, swing heavy weight stacks with aggressive momentum, and hyperextend their lumbar spine rather than extending through the hip joint. These technical errors not only rob the gluteal muscles of hypertrophic stimulus, but they also direct harmful shear stress into the lower back and sacroiliac joints. When executed with strict pelvic stability, a disciplined forward hinge, and a fiber-aligned kicking trajectory, the cable kickback becomes an unmatched tool for sculpting the upper and lower glutes.

- Sets
- 3–4
- Reps
- 10–15
- Rest
- 60 s
- Tempo
- 2–1–2
The biomechanics of the cable kickback: why it builds glutes
To understand why the Cable Glute Kickback (Standing Hip Extension) is indispensable for complete glute development, we must examine the anatomical structure of the gluteal complex and the unique mechanics of cable resistance. The gluteus maximus is the largest and most powerful muscle in the human body. However, its muscle fascicles do not run in a straight vertical or horizontal line. Instead, they fan out obliquely, originating along the posterior iliac crest, the sacrum, and the coccyx, and inserting diagonally downward and outward into the iliotibial tract and the gluteal tuberosity of the femur at roughly a 30-to-45-degree angle.
When a lifter kicks straight backward in the pure sagittal plane, the movement relies heavily on the hamstrings and the lower (caudal) fibers of the gluteus maximus. However, when you introduce approximately 30 degrees of hip abduction (moving the leg slightly away from the midline) combined with subtle external hip rotation, the line of pull aligns perfectly with the muscle fibers of both the upper (cranial) division of the gluteus maximus and the posterior fibers of the gluteus medius. This subtle angular adjustment transforms a generic leg kick into a laser-targeted contraction that targets the so-called "upper glute shelf."
Electromyographic research confirms that hip extension exercises targeting the gluteus maximus elicit superior mean and peak activation when external resistance opposes the hip at full lockout. A comprehensive systematic review by Neto and colleagues analyzed gluteus maximus recruitment across strength and hypertrophy exercises, demonstrating that single-leg hip extension movements generate very high levels of glute excitation when performed with proper pelvic stabilization.[1]
Furthermore, the cable machine fundamentally alters the resistance profile compared to free weights. In a Barbell Hip Thrust or barbell squat, resistance is dictated strictly by gravity pulling vertically. In a cable kickback, the line of resistance is determined entirely by the orientation of the cable relative to your working limb. Because the cable maintains continuous tension from the start of the concentric phase through the peak contraction and across the eccentric lowering phase, your glutes never get an unloaded rest period. This sustained time under tension drives significant metabolic stress and localized mechanical tension—two primary physiological drivers of hypertrophy.
By pairing lengthened-position compound movements like the Barbell Romanian Deadlift with shortened-position isolation like the cable kickback, you expose your glute fibers to mechanical overload across their entire functional length-tension relationship. This comprehensive stimulus maximizes hypertrophy across both the proximal and distal regions of the muscle.
Equipment checklist and step-by-step setup
A sloppy setup is the primary reason lifters fail to feel their glutes working on the cable column. Taking ninety seconds to arrange your attachments, pulley height, and stance makes the difference between an awkward struggle and a deeply stimulating workout.
1. Attachment selection: ankle cuff vs. foot strap
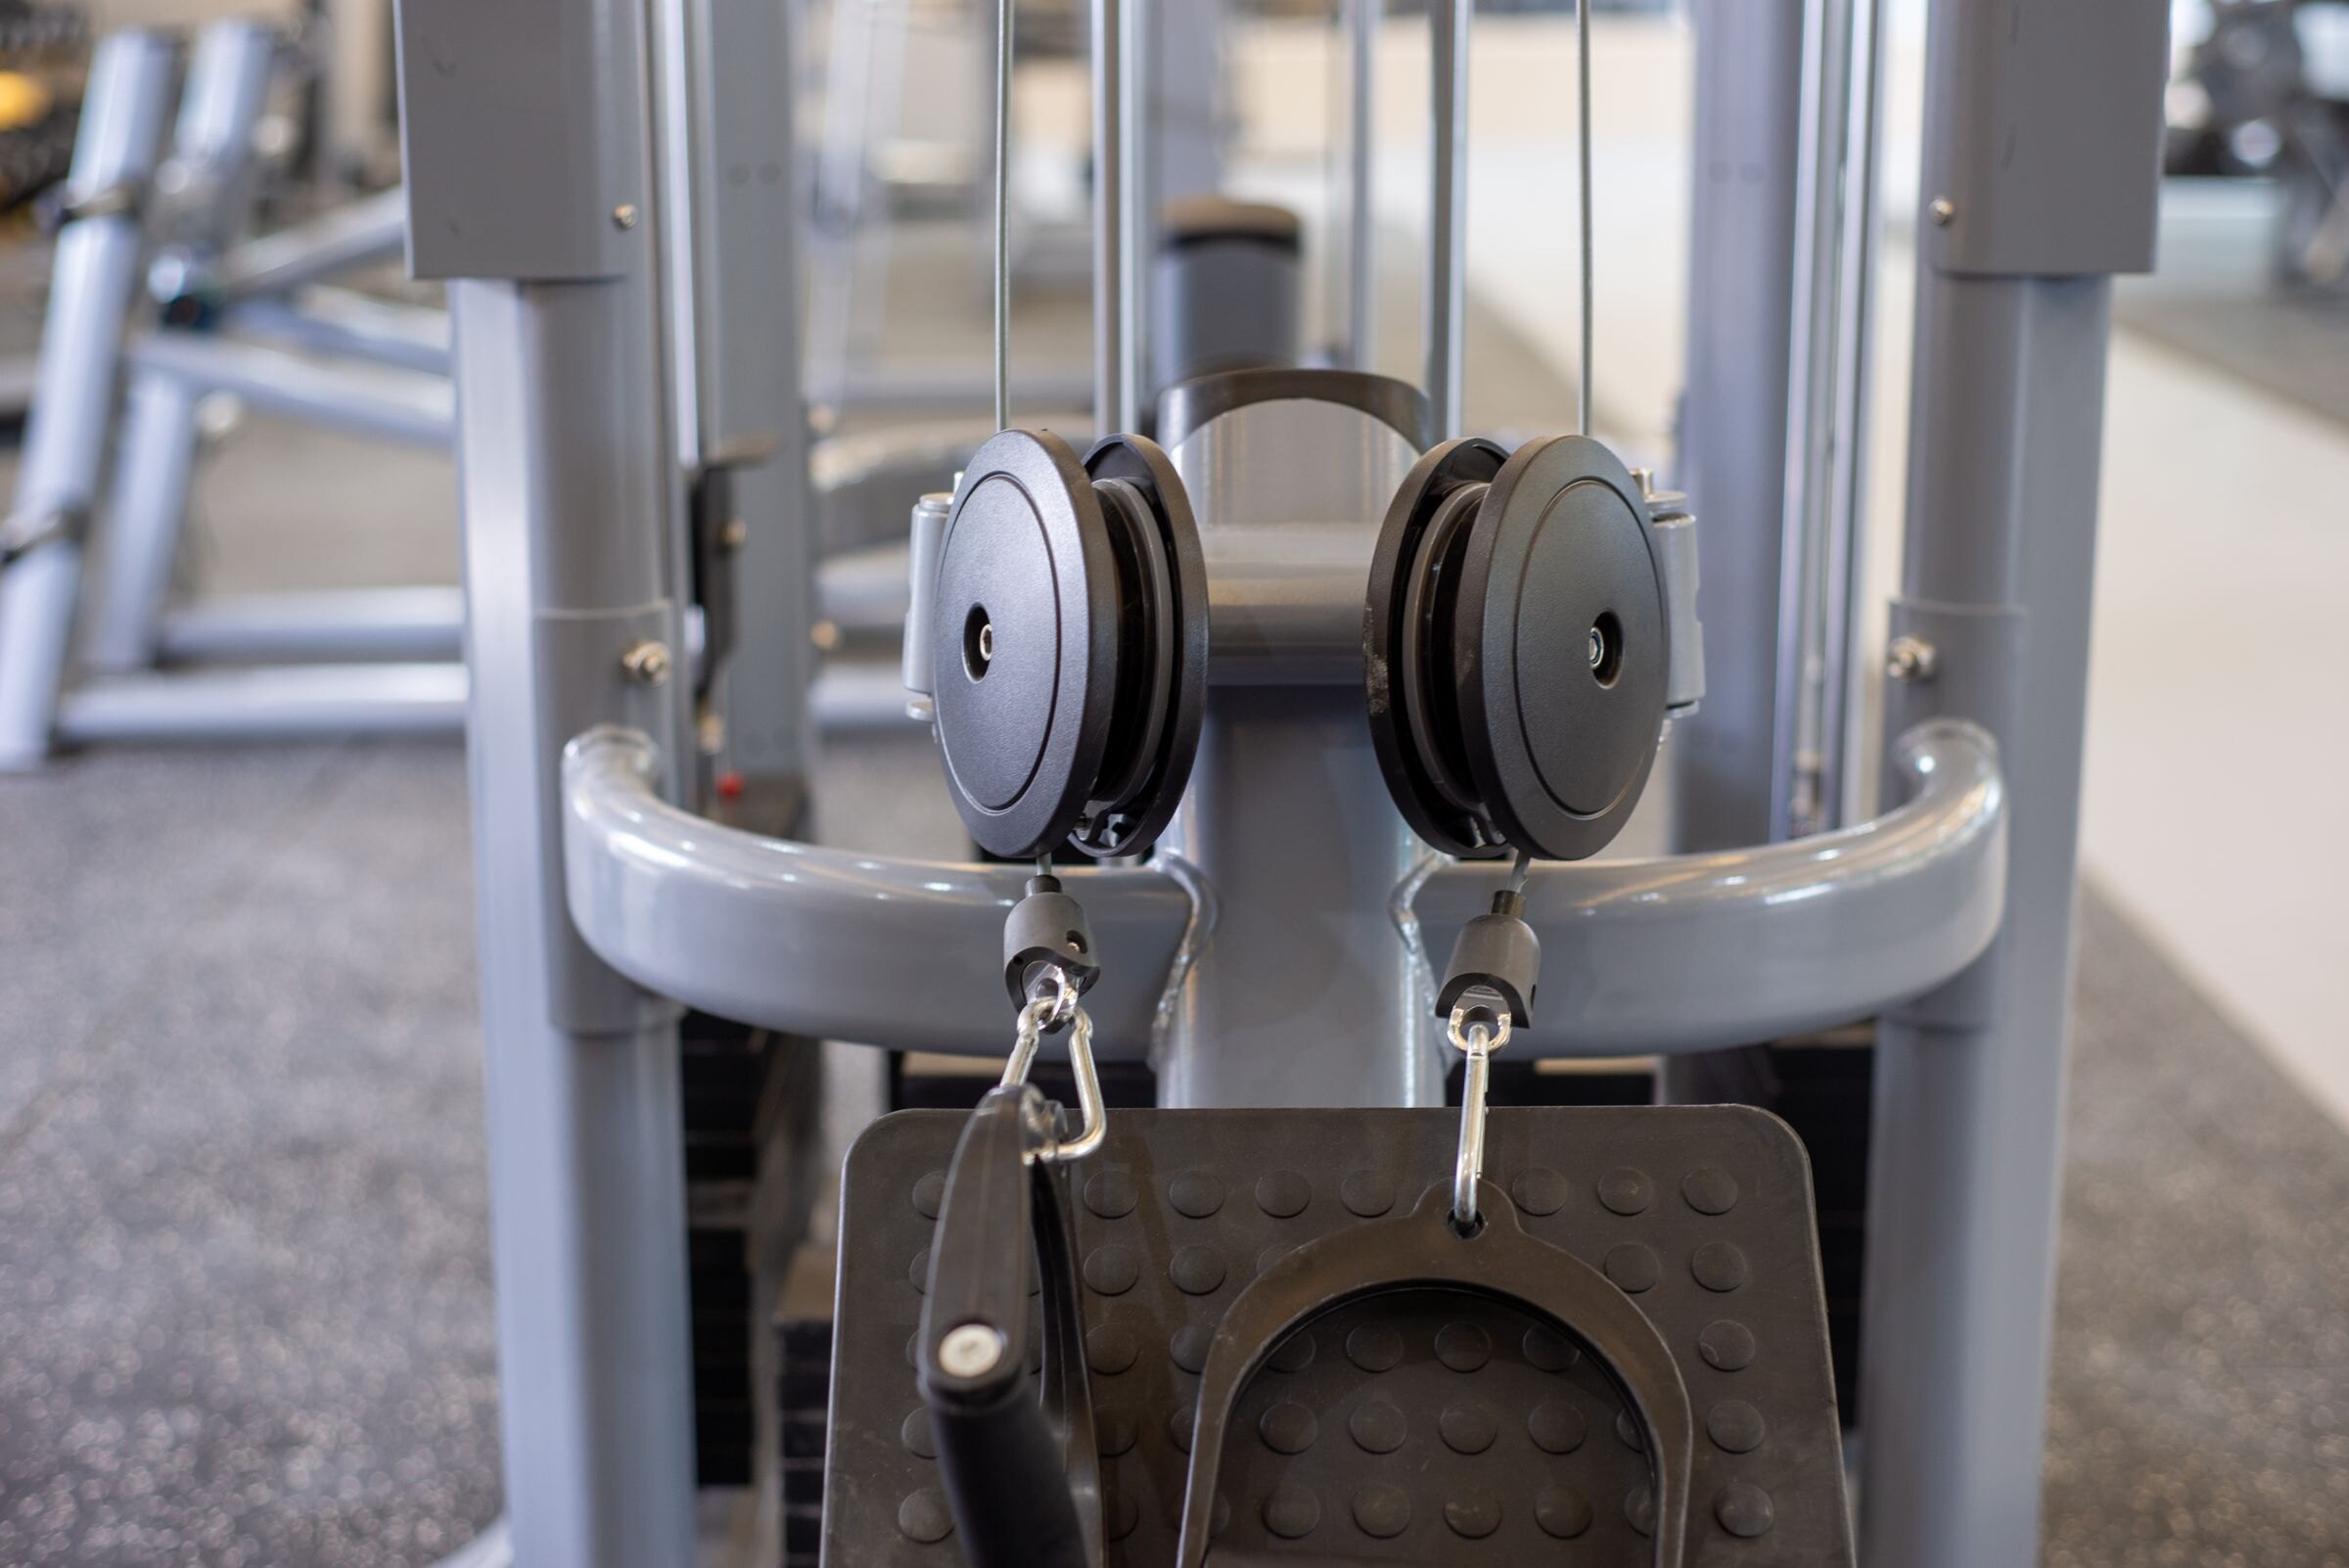
Always use a dedicated, padded ankle cuff that wraps snugly around the lower shank, positioned directly above your ankle malleoli (the ankle bones). Avoid looping a loose cable handle around your athletic shoe or the arch of your foot; doing so forces your calves, foot intrinsic muscles, and anterior tibialis to contract just to keep the attachment in place, introducing unwanted neural feedback that distracts from glute recruitment. A secure ankle cuff allows you to relax your foot and ankle completely, focusing 100% of your neural drive on hip extension.
2. Setting the optimal pulley height
The height of the cable pulley determines the resistance curve:
- Lowest pin setting (floor level): When the pulley is pinned at the very bottom of the tower, the cable pulls downward and forward. While this provides great tension at the start, the cable often rubs against your supporting shin or shoes, and the angle of pull at peak extension can cause the resistance to diminish prematurely.
- Knee-height to mid-shin setting (optimal): Setting the pulley between mid-shin and knee height (approximately 12 to 18 inches / 30 to 45 cm off the floor) is optimal for most lifters. At this height, the cable remains clear of your standing foot, and as your working thigh reaches full extension behind you, the cable forms a clean 90-degree angle with your lower leg. This perpendicular angle guarantees that external torque peaks exactly at the top of the repetition.
3. Step-by-step execution protocol
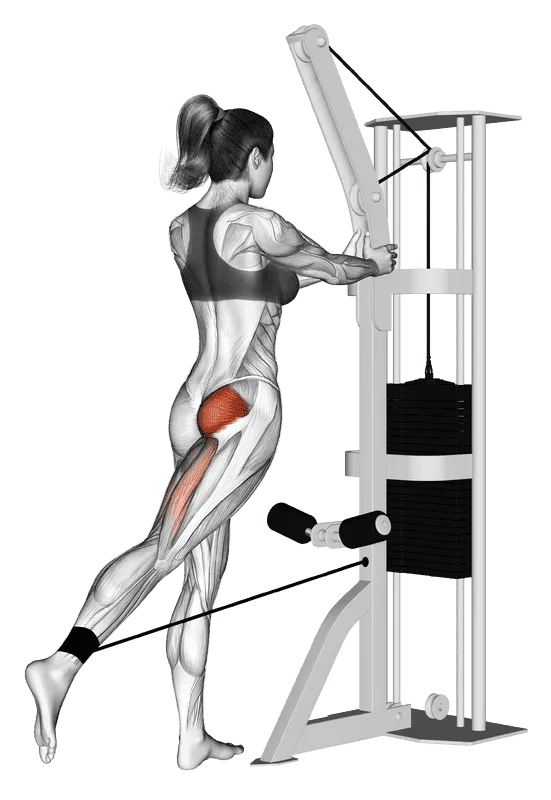
- Establish your base: Fasten the ankle cuff securely to your working leg and attach it to the cable carabiner. Step backward approximately 2 to 3 feet (60 to 90 cm) from the pulley tower so the weight plates lift slightly off the stack, ensuring immediate tension at the start of the rep.
- Set your stance and hinge: Plant your non-working foot firmly into the floor with your toes pointing straight forward or slightly angled outward. Soften your supporting knee—never lock it out. Hinge forward at your hips to a 45-to-60-degree torso angle, grasping the cable uprights firmly with both hands to anchor your upper body.
- Brace your core: Inhale deeply, pull your ribs down toward your pelvic brim, and tighten your abdominal wall as if preparing for a punch. This "canister position" locks your pelvis in a neutral or slightly posterior tilt, preventing your lower back from arching when your leg moves.
- Drive the sweeping diagonal arc: Initiate the movement by contracting your glute to drive your heel backward and slightly outward at a 30-degree angle from your midline. Keep your knee slightly soft and maintain the same knee angle throughout the repetition; do not swing your lower leg like a pendulum.
- Lock in the peak squeeze: Continue extending your hip until your thigh aligns with your hinged torso. Hold this peak contraction for a deliberate one-second count. Focus on squeezing your glute as hard as humanly possible at lockout.
- Control the eccentric return: Slowly lower your leg back to the starting position over a controlled two-second count, resisting the pull of the cable stack. Stop when your working knee aligns just slightly in front of your supporting knee before initiating the next repetition without letting the weight plates touch.
Torso angle and pelvic mechanics: eliminating lower back pain
The single most common complaint among lifters performing cable kickbacks is lower back tightness or pain. To eliminate this issue entirely, you must understand the anatomical constraints of hip extension.
Anatomically, the human hip joint (the acetabulofemoral articulation) only allows for approximately 10 to 20 degrees of true extension beyond neutral alignment. The dense iliofemoral ligament—often called the Y-ligament of Bigelow—winds tightly across the anterior hip capsule as the thigh moves backward, creating a rigid anatomical barrier to further motion.
When a lifter stands completely upright and tries to kick their leg as high as possible behind them, their hip joint reaches its structural limit almost immediately. To force the leg higher, the body compensates through anterior pelvic tilt and lumbar spine hyperextension. In simple terms: your hip stops moving, and your lower back arches violently to create the illusion of extra range of motion. This shifts mechanical loading directly onto your lumbar erectors, facet joints, and intervertebral discs while disengaging the gluteus maximus entirely.
The 45-to-60-degree forward hinge
The solution is remarkably simple: hinge forward at the hips. By leaning your torso forward at a 45-to-60-degree angle relative to the floor, you place your hip into relative flexion. This dramatically expands your working arc. You can now travel through a substantial range of motion while your femur remains safely within its true anatomical limits of hip extension relative to your pelvis.
To maintain this protective alignment:
- Keep your gaze directed down and slightly forward, maintaining a neutral cervical spine rather than cranking your neck up to look into a mirror.
- Maintain a proud chest with your shoulder blades retracted and depressed against the cable column.
- Actively squeeze the glute of your supporting leg as well; the non-working hip must work isometrically to stabilize your pelvis and prevent lateral hip shift.
Cable kickback variations: targeting specific glute regions
While the standard standing cable kickback is the benchmark, subtle variations allow you to modify pelvic stability, leverage, and regional muscle fiber recruitment.
1. The bench-supported cable kickback
If you struggle with balance or find that your supporting leg fatigues before your working glute, the bench-supported kickback is the gold-standard variation. Position an adjustable bench set to a low incline (30 to 45 degrees) directly in front of the cable tower. Straddle or stand beside the bench and rest your chest and forearms securely on the pad.
By physically supporting your torso on an external structure, you eliminate all balance demands and core instability. This maximizes your internal stability, allowing the nervous system to output maximum voluntary motor unit recruitment to the gluteus maximus without having to split neural resources for postural equilibrium.
2. Bent-knee vs. straight-leg kickback
Lifters often debate whether the knee should be bent or straight during kickbacks:
| Variation | Knee Position | Primary Biomechanical Advantage | Best Used For |
|---|---|---|---|
| Straight-Leg (Slight Soft Knee) | Fixed at ~15° bend | Longer moment arm; requires more hip torque; challenges glute throughout arc | General hypertrophy and maximum mechanical tension |
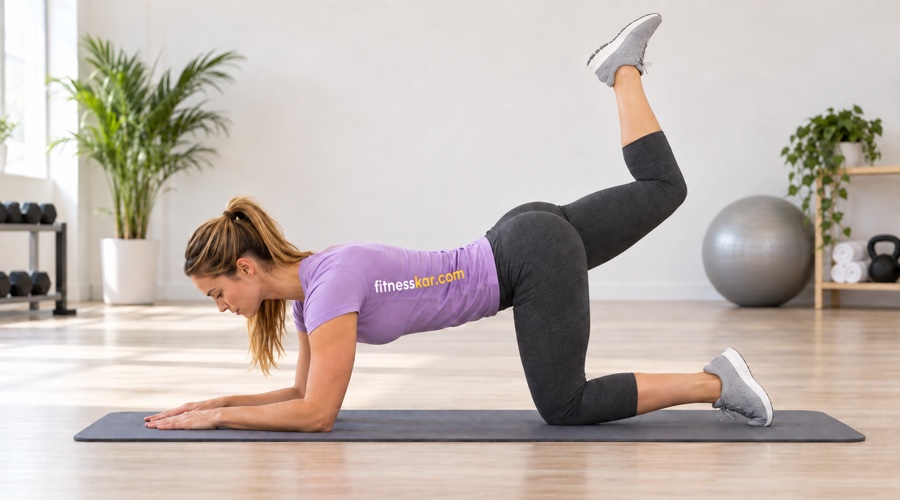
| Bent-Knee (Donkey Kick) | Fixed at 90° bend | Induces active insufficiency in hamstrings; forces glute to work without hamstring aid | Lifters who are excessively hamstring-dominant |
| 45-Degree Diagonal Kickback | Soft knee with 45° abduction | Matches upper glute max and gluteus medius fiber angles | Building the upper glute shelf and lateral hip stability |
The bent-knee variation places the hamstrings in a position known as active insufficiency: because the hamstrings are already fully shortened at the knee joint, their capacity to produce force at the hip joint is significantly compromised. This isolates the gluteus maximus almost completely. However, because the lever arm is shorter, you will generally need slightly more weight on the cable stack.


- Sets
- 3–4
- Reps
- 12–15
- Rest
- 60 s
Common mistakes and technical corrections
Small technical mistakes can drastically diminish glute recruitment while increasing injury risk. Use the checklist below to audit your form.
| Common Mistake | Biomechanical Problem | Technical Correction |
|---|---|---|
| Swinging the weight stack | Momentum overtakes muscular tension; glutes only contract at the turnaround | Reduce load by 20–30%; enforce a strict 2-second concentric and 1-second squeeze at the top. |
| Pelvic rotation (hip flare) | Opening the hips outward rotates the pelvis, turning hip extension into awkward torso twisting | Keep both anterior superior iliac spines (hip bones) pointed squarely toward the cable column. |
| Kicking straight backward | Fails to match the natural diagonal line of pull of the gluteus maximus; limits peak contraction | Aim your heel toward the back corner of the room at roughly a 30-degree angle from your midline. |
| Arching the lower back | Exceeds true hip extension; hyperextends lumbar spine and irritates facet joints | Hinge torso to 45–60°, brace abs, and stop the rep the instant your thigh aligns with your torso. |
| Dropping the weight too fast | Skips the eccentric phase, eliminating half of the hypertrophic stimulus | Resist the cable pull over a smooth, controlled 2-to-3-second descent on every single repetition. |
Programming and periodization for glute hypertrophy
Because cable kickbacks are an isolation movement that produces relatively low systemic central nervous system fatigue, they can be programmed with higher frequency than heavy axial compound lifts like deadlifts or squats.
Where kickbacks fit in your workout
Never perform cable kickbacks as your primary heavy lift at the start of a session. Instead, structure your lower-body training using a progressive hierarchy:
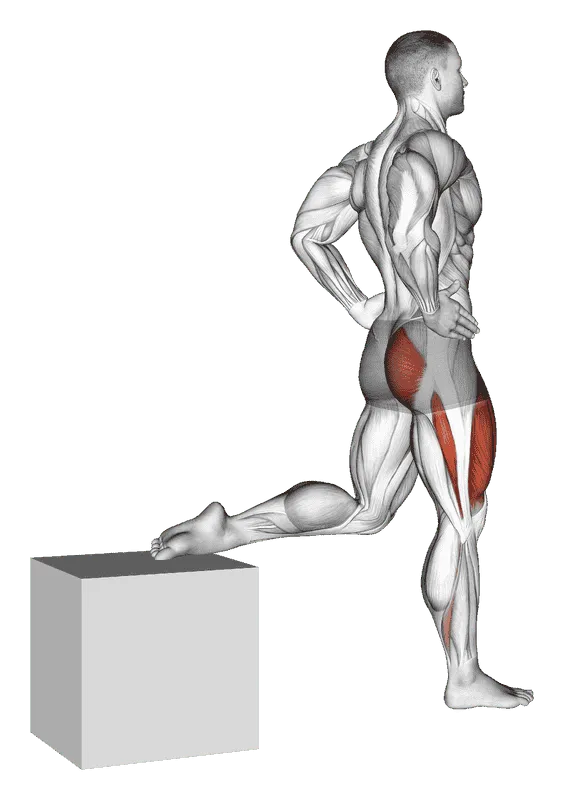
- Compound Stretch-Focused Movement: Begin with exercises that overload the glutes in a lengthened position under heavy loads, such as the Barbell Romanian Deadlift or Bulgarian Split Squat.
- Compound Shortened-Focused Movement: Transition to heavy horizontal hip extension, primarily the Barbell Hip Thrust.
- Targeted Isolation Finisher: Conclude your session with the Cable Glute Kickback and Lever Seated Hip Abduction to pump localized blood volume into the muscle and exhaust high-threshold motor units through metabolic stress and peak contraction.
Volume, rep ranges, and frequency
According to evidence-based hypertrophy guidelines outlined in our hypertrophy volume and progressive overload guides, most lifters maximize glute development by accumulating roughly 10 to 20 total weekly direct sets.
- Frequency: Train glutes 2 to 3 times per week, allowing 48 to 72 hours of recovery between sessions.
- Weekly Kickback Volume: Perform 4 to 8 sets of cable kickbacks per week, divided across one or two workouts.
- Repetitions & Intensity: Perform sets of 10 to 15 reps (or 12 to 20 reps for high-metabolic-stress sessions), stopping roughly 1 to 2 reps shy of absolute muscular failure (RPE 8–9).
- Rest Intervals: Rest 60 to 90 seconds between legs. Because one leg works while the other rests, you can alternate sides with minimal downtime while still allowing local muscular recovery.
Sample glute-focused lower-body workout
The following protocol illustrates how to integrate the cable kickback into a comprehensive lower-body specialization day:
| Order | Exercise | Sets | Reps | Tempo | Rest | Focus |
|---|---|---|---|---|---|---|
| 1 | Barbell Romanian Deadlift | 3 | 8–10 | 3-1-1 | 2–3 min | Lengthened glute & hamstring overload |
| 2 | Barbell Hip Thrust | 3–4 | 8–12 | 2-1-1 | 2 min | Heavy shortened-position horizontal loading |
| 3 | Bulgarian Split Squat | 3 | 10–12 | 2-1-1 | 90 s | Unilateral stability & deep glute stretch |
| 4 | Cable Glute Kickback | 3–4 | 12–15 | 2-1-2 | 60 s | Pure shortened-position peak squeeze |
| 5 | Lever Seated Hip Abduction | 3 | 15–20 | 2-1-2 | 60 s | High-rep metabolic burnout for upper glutes |
Periodically incorporate a muscle recovery period every 4 to 8 weeks to allow connective tissues and the nervous system to fully regenerate, especially when training with high localized volume. For more structured full-body and split routines, explore our comprehensive women's training guide or browse our extensive directory of glute exercises and cable exercises.
Frequently asked questions
Should my working leg be straight or bent during a cable glute kickback?
A slight, soft bend in the knee (around 15 to 20 degrees) is ideal for most lifters because it reduces hamstring tension while maintaining a long lever arm. If you are excessively hamstring-dominant and struggle to feel your glutes, bending your knee to 90 degrees induces active insufficiency in the hamstrings, forcing your gluteus maximus to perform the hip extension.
Why do I feel cable kickbacks in my lower back instead of my glutes?
Feeling kickbacks in your lower back almost always means you are standing too upright and kicking too high, forcing your lumbar spine into hyperextension once your hip reaches its anatomical limit of extension. To fix this, hinge your torso forward 45 to 60 degrees, brace your abdominal wall, and stop the kick the moment your thigh aligns with your torso.
How heavy should I go on cable kickbacks?
Cable kickbacks are an isolation exercise that requires strict muscular control rather than maximum load. Select a weight that allows you to complete 10 to 15 clean repetitions with a 2-second eccentric phase and a distinct 1-second isometric pause at peak contraction without swinging your torso or clanging the weight stack.
What angle should I kick back for the upper glutes?
To target the upper division of the gluteus maximus and the gluteus medius, kick your leg backward and outward at approximately a 30-degree diagonal angle from your midline. This trajectory precisely matches the diagonal pennation of the upper glute muscle fibers.
Sources
- Neto WK, Soares EG, Vieira TL, et al. Gluteus Maximus Activation during Common Strength and Hypertrophy Exercises: A Systematic Review. Journal of Sports Science & Medicine. 2020. ncbi.nlm.nih.gov/pmc/articles/PMC7039033/ ↩